Save on select Weber Works™ Accessories* Shop Now.
Grilling the Perfect Thanksgiving Turkey: Setup, Prep, and Monitoring
If you’re like us, no feast is a feast unless you’ve fired up your grill, and if you’re going to grill anything, it’s going to be the star of the show—the Thanksgiving Turkey. Grilling your turkey doesn’t just free up valuable oven space for all side dishes, it also brings out incredible flavors an oven simply can’t deliver. So, let's walk through 3 important things you need to know about grilling a turkey, from setting up your grill to prepping the bird, and most importantly, making sure it’s juicy and cooked to perfection.
Choosing the Right Grill Setup
Grilling a turkey might take a bit more finesse than your typical steak or burger, but it all boils down to one key factor: indirect heat. Indirect cooking ensures that your turkey doesn’t burn on the outside while leaving the inside raw. Whether you’re using a gas grill, a charcoal grill, or a pellet grill, indirect cooking is the golden rule. Let's break down the setup for each type of grill:
Gas Grill Setup
With a gas grill, creating an indirect cooking zone is straightforward. Here’s what you need to do:
- Preheat your grill with all burners on high for about 10-15 minutes.
2. Once preheated, turn off the burners in the middle. This creates an indirect cooking zone between two active burners, known as the MOM Method (Medium, Off, Medium). The turkey will sit in the center, away from direct flames. You want to keep a grill temperature between 375°–425°F.
3. Place a drip pan underneath the grill grate in the center (under the turkey), filling it with water or broth to catch the drippings and maintain moisture.
Tip: Before starting, check your propane tank and make sure you have a full tank. Running out of fuel halfway through cooking a turkey can be a Thanksgiving disaster!
[Check out our top gas grills for this Thanksgiving.]
Charcoal Grill Setup
Charcoal grills give your turkey a rich, smoky flavor that's hard to beat, but they do require a bit more focused attention. Here’s how to set it up:
- Light your charcoal and let it ash over. Once ready, bank the coals on either side of the grill, leaving the center as the cool zone for indirect cooking.
2. Place a foil drip pan filled with water or broth on the grill grate in the center, underneath the turkey, to catch the drippings and help maintain moisture.
3. Add wood chunks (like apple or cherry) to the coals for extra smoky flavor.
It’s a good idea to have at least two bags of charcoal on hand, especially if it’s a cold and windy day. Wind can increase fuel consumption and cause heat fluctuations, so you’ll want to be prepared.
Pro Tip: If you want to take it to the next level, consider using a rotisserie attachment on your charcoal grill. A rotisserie will allow your turkey to slowly rotate, self-basting in its own juices, and ensuring even cooking all around.
If you're smoking your turkey using a Weber Smoky Mountain or Weber Summit Kamado, use the Minion Method to maintain a low, steady temperature. To do this, fill your smoker with unlit charcoal and add a small number of lit coals on top. This helps the charcoal burn slowly over time, keeping the temperature in the ideal range of 250-275°F.
Pellet Grill Setup
Pellet grills take the guesswork out of grilling. The Weber Searwood uses a steady flow of wood pellets and Rapid React™ PID to take the guesswork out of cooking. There's no need for complex setups—just set your temperature to 375°F or 400°F, place the turkey on the grill, and let it cook evenly.
Experiment with different pellet flavors. Apple or cherry pellets are excellent choices for turkey, giving your bird a subtle, smoky flavor that complements traditional Thanksgiving spices.
Pro Tip: Have at least two bags of pellets on hand to ensure you have enough fuel for your entire cook. It’s better to be over-prepared, especially if you’re cooking a larger bird.
[Try out our premium wood pellets for your Thanksgiving turkey.]
Preparing Your Turkey
Thawing Your Turkey
Before anything else, you’ll need to make sure your turkey is thawed properly. Improper thawing can lead to uneven cooking, which no one wants during Thanksgiving.
- The easiest and safest method for thawing your turkey is to do it in the refrigerator.
- Allow 1 day of thaw time for each 5 pounds of turkey. For example, a 12–15 pound turkey will take roughly 3 to 4 days to thaw. A 16–20 pound turkey will take roughly 4 to 5 days to thaw.
- Properly thawing your turkey ensures it cooks evenly and prevents any unexpected cold spots in the meat, which can lead to uneven cooking.
Plan ahead, give yourself enough time, and make your Thanksgiving a little less stressful!
Brining for Moisture and Flavor
The secret to juicy, flavorful turkey? Brining. Brining helps the turkey retain moisture while ensuring your turkey is seasoned all the way through.
Here’s a basic brine recipe:
- 1 gallon of water
- 1 cup of kosher salt
- 1/2 cup of sugar (optional)
- Fresh herbs (like rosemary and thyme)
- Optional: citrus slices or garlic for added flavor
Mix the ingredients until the salt and sugar dissolve. Submerge your turkey in the brine and refrigerate for 24 hours (or roughly 1 hour per pound of turkey). Feel free to experiment by adding other spices or aromatic vegetables into your brine.
Rub or Seasoning Blend
After brining, pat the turkey dry. This is where the fun begins—seasoning! A simple rub of salt, pepper, paprika, garlic powder, and thyme will add amazing flavor. Be sure to season the outside and inside of the turkey. You can even mix some of your rub with softened butter and rub it under the skin.
Basting for Color and Moisture
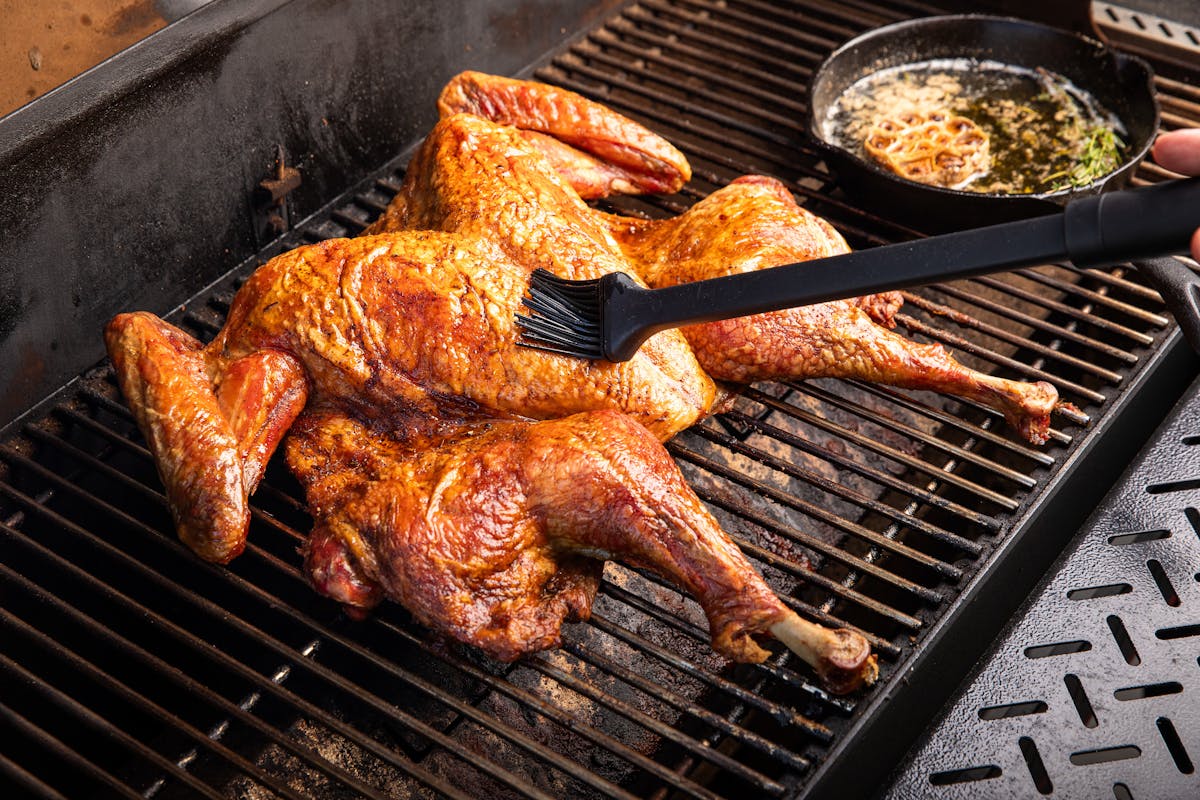
For a golden-brown and beautiful bird, basting is key. Every 30–45 minutes, use melted butter or stock to baste the turkey. This will keep the skin golden and crisp. Just remember, every time you open the grill lid, you’re letting heat escape, so be quick!
Pro Tip: If you’re cooking on charcoal, use this time to add a few more briquettes to the grill—3 to 4 on each side.
[Check out our favorite turkey grilling tools.]

Monitoring Your Turkey’s Temperature
The Importance of Temperature Control
Cooking a perfect turkey is all about hitting the right internal temperature. You want the breast meat to reach 165°F and the thighs to hit around 175°F. Anything higher, and you risk serving your guests dry turkey (and nobody wants that).
To ensure you don’t overcook the turkey, WEBER CONNECT lets you check the grill temperature, cook status, probe temperatures and more. On the WEBER CONNECT app, you’ll get flip, remove, and serve alerts, all while inside your home spending time with your family and friends (unless you like having the grill as an excuse to get away from that one uncle).
When using probes to monitor your turkey, insert the probe into the thickest part of the breast without touching bone, and monitor it closely during the last stages of cooking.
How Long Will It Take?
Cooking time depends on the temperature of your grill. Here’s a handy guide for estimating how long your turkey will need:
Grill Temp | Time / Pound |
250°F | 30 min per pound |
275°F | 20 min per pound |
350°F | 15 min per pound |
So, if you're cooking a 12-pound turkey at 275°F, plan for about 4 hours.
Target Temperatures & Resting
Once your turkey reaches 165°F in the breast, take it off the grill. But you’re not done yet! Resting the turkey for 30 minutes to 1 hour is crucial. This allows the juices to redistribute, ensuring every bite is juicy and flavorful.
Delight your Family and Friends with a Perfectly Grilled Turkey
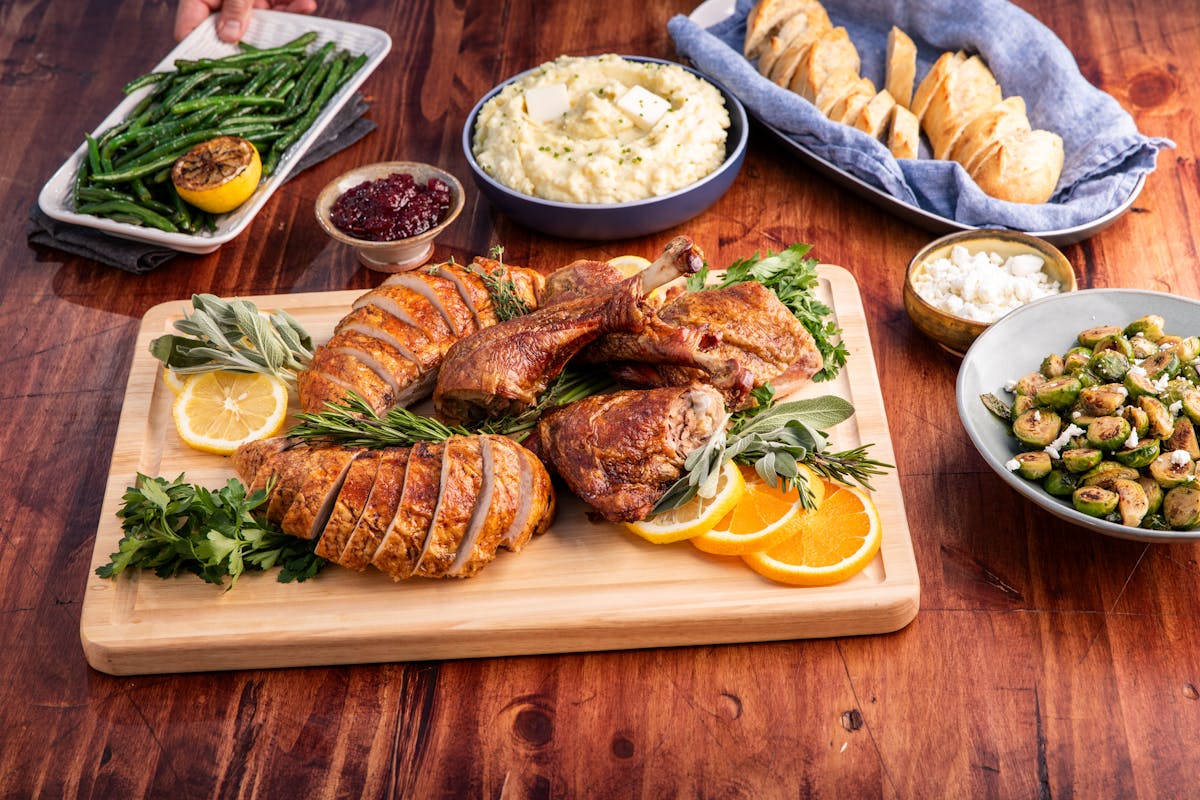
Grilling your turkey for Thanksgiving adds a whole new dimension of flavor and texture to the classic holiday meal. Whether you’re cooking on a gas grill, a charcoal grill, or a pellet grill, you’ll create a memorable meal with a turkey that's crispy on the outside, moist on the inside, and bursting with flavor.
So, why not try grilling this Thanksgiving? Your family—and your taste buds—will thank you.
[Ready to get grilling? Check out our range of Weber grills perfect for Thanksgiving.]


