Save on select Weber Works™ Accessories* Shop Now.
How to Prepare Grilled Spaghetti Squash
Okay so you love pasta. I mean, who doesn’t?? Penne, angel hair, macaroni, linguine, spaghetti (the list goes on and on)—the name is practically music to your taste buds! We often forget that it gets hard to dance when you have the calorie heavy noodles weighing you down. There’s one #trending spaghetti dish that marches to a different beat. Have no fear, spaghetti squash is here!
Spaghetti squash is indeed a vegetable, but looks and tastes very similar to traditional spaghetti.
Spaghetti squash can be transformed into many colorful dishes with flavor options that replicate many favorites. First, I will take you through the steps to grill the actual squash and then we will talk about how to take your meal to the next level.
Essential Ingredients:
1 Spaghetti Squash
Olive Oil
Seasonings of your choice
Let’s begin:
First things first—the center of the squash is filled with seeds we need to remove before we get going.
It’s time to flex on that squash and use those biceps to cut the squash in half lengthwise. The outer part of the squash can be difficult to cut through. If you feel uncomfortable cutting the spaghetti squash with a knife I’d recommend having a stronger friend or family member give it a go. There is also a second option which involves making small slits around the squash, as if you were to cut it in half length-wise, and then putting the whole squash on the grill for about 30 minutes to soften up the shell. However, if you choose this method you will have to wait for the squash to cool before you split the squash in half and remove the seeds. I have been doing my pushups and prefer doing the dirty work ahead of time, so I am going to initially slice the squash. Both techniques turn out equally tasty.
Once the spaghetti squash has been cut in half remove the seeds. Spoon the seeds and pit of the spaghetti squash so it looks like the photo below. Either dispose of the remains or save the seeds to grill for a snack some other time.

Now it is time to season your squash. Grab a small amount of olive oil and brush it on both halves of the squash giving it full coverage. Once the squash is fully coated, season both sides. I am going to use Weber’s Roasted Garlic and Herb Seasoning, but feel free to use whatever you would like.
Once you have finished seasoning the squash place it on the grates face up. Grill for 45-60 minutes at 400 degrees F. With about 20 minutes left, I like to flip the spaghetti squash and place it facedown to get nice sear marks. Remove the squash from the grill and let cool for a few minutes.
At this point you are probably waiting for the step where the squash starts looking like spaghetti. Well we have finally reached that point! All you need to do is take a fork and start scooping it on to your plate and like magic the squash turns into the stringy spaghetti we all love!
Now it’s time to get creative. Add fun sauces and toppings to make your meal memorable! Treat the spaghetti squash like any spaghetti!
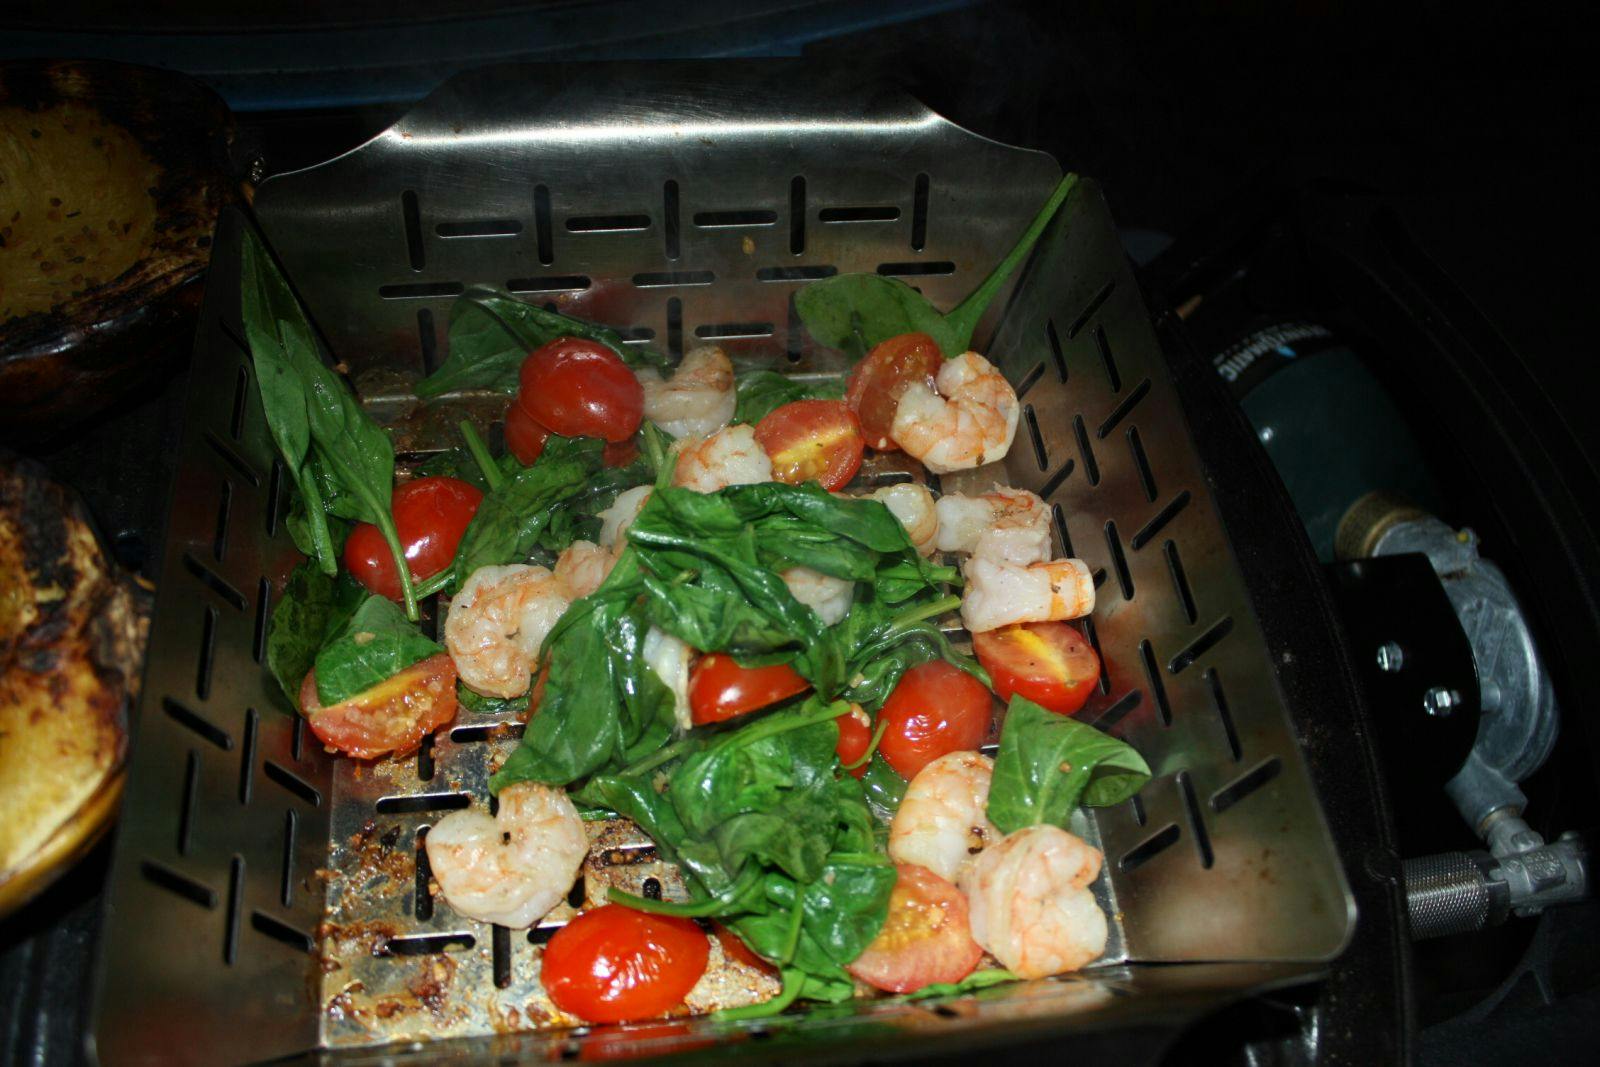
For this particular meal I decided to grill up some shrimp, cherry tomatoes, and spinach to mix in with my squash. I spread a little olive oil and the same roasted garlic herb seasoning on the shrimp and sliced cherry tomatoes, then threw them in the veggie basket for about 7 minutes. At 7 minutes, I added a bit of spinach and gave them an occasional stir. Once the spinach was fully sautéed I the dish was almost complete. I mixed the grilled shrimp, tomatoes, and spinach in with the spaghetti squash and then topped it off with a little bit of goat cheese. I normally mix in a pesto or marinara sauce, but goat cheese was a DELICIOUS substitute.
If you aren’t big on extra toppings and sauces, NBD—the squash tastes amazing without any additions! Another benefit of grilling spaghetti squash is that if you are grilling it for family and friends you have the option of creating a “make-your-own spaghetti squash” station. That way each person can decorate their spaghetti however they would like and you’ve got more options to show Instagram that you #grill.
AND the best part is that you don’t have to feel guilty about going back up for seconds!


.JPG?auto=compress,format)
.JPG?auto=compress,format)


