What’s A Sear Station & How Do I Use It?
For several years, many models of Weber grills have come with a Sear Station ® , but it remains one of the less well understood features of our grills.
We’re aiming to clear up any confusion surrounding how to best use the Sear Station, and what advantages there are to owning a Weber grill with one.
First off, what is a Sear Station?
The Sear Station is basically three burners that are closer together than the other burners on the grill. What this does is create a zone on the grill that can get hotter much faster than other areas, which is great for speeding up the time it takes to get the grates hot enough for searing. You can sear on a grill without a Sear Station, but you’ll have to wait a bit longer.
.jpg?auto=compress,format)
So, now that we know what a Sear Station is, how do we use it?
Using the Sear Station is very simple, but there are a few simple things to keep in mind. Let’s walk through the process of using one.
You’ll want to start your grill as you normally would. Open the lid, turn on the fuel source, and light the main burners (keep the sear burner off during pre-heating). Close the lid and let the grill pre-heat for about 15 minutes, until it reaches about 500 to 550F.
Once the grill has been pre-heated it’s time to light the Sear Station.
For Summit models, turn the outer burners to off or to low, and then light the Sear Station.
For Genesis models, turn the right burner to off or low, and then light the Sear Station.
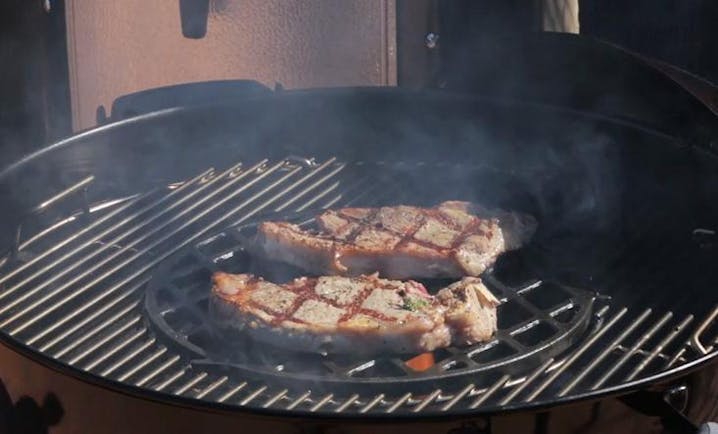
Now it’s time to put the food to be seared onto the Sear Station. Depending on what is being cooked, you’ll need to sear each side of the food anywhere from 1 to 4 minutes, but don’t be afraid to experiment with searing times to get the results that work best for you.
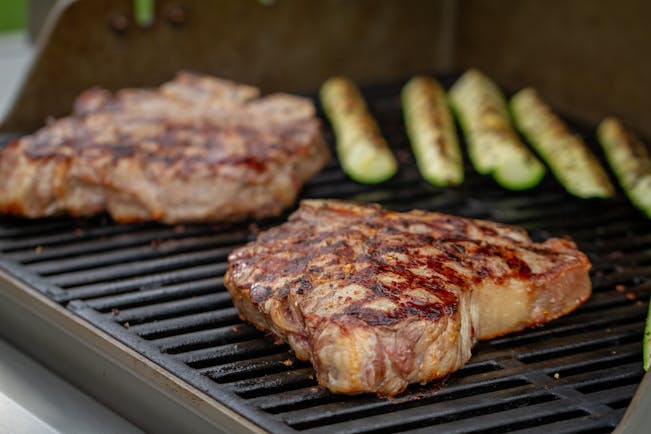
Once you’re done searing, you can move the food to a different part of the cooking grates, where the heat is lower, to finish the cooking process.
Some people like to employ the “reverse sear” method, in which the food is cooked almost to completion over a more lower temperature, and then moved to the Sear Station just before it’s done to sear it.
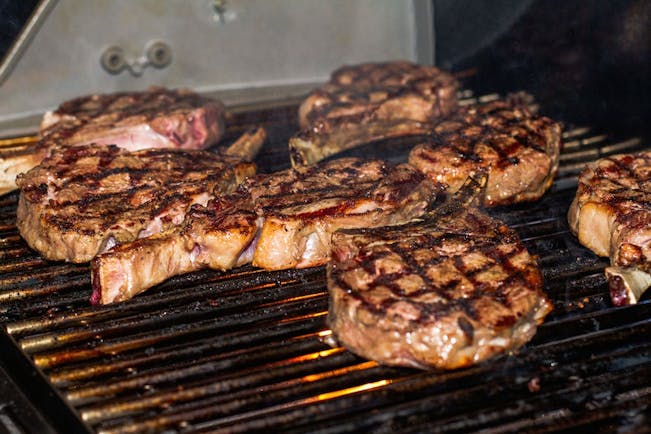
Searing is what produces those classic grill marks on food, and it provides a texture and taste contrast that make any food more interesting to eat. The more you use and experiment with the Sear Station, the better you’ll get at making unbelievably delicious food that will delight guests at your next barbecue.
.jpg?auto=compress,format)


