Beginners Guide To Smoking A Turkey On A Smoker
This is a carousel of various images or videos. Use Next and Previous buttons to navigate.
Beginners Guide To Smoking A Turkey On A Smoker
Beginners Guide To Smoking A Turkey On A Smoker
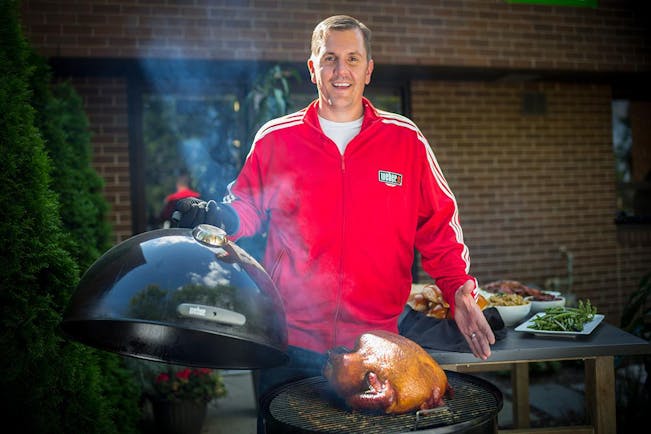
First, let me welcome you to the wonderful world of smoking on a Weber Smokey Mountain Cooker Smoker. The smoker is not only easy to use but will provide you one of the greatest turkeys you will ever eat! The 18”and 22” smokers are great for smoking full-size turkeys. You won’t likely be able to fit a full-size turkey on the 14” smoker but you can smoke a turkey breast on it.
Prep for the turkey
- Pick out a great turkey!
- Make sure the turkey fits!
- Brining is a great way to add weight and moisture!
- Add flavor!
- Truss
- Cover the top of the turkey with a cheesecloth. You will leave this on for the first 2-3 hours.
Preparing the smoker
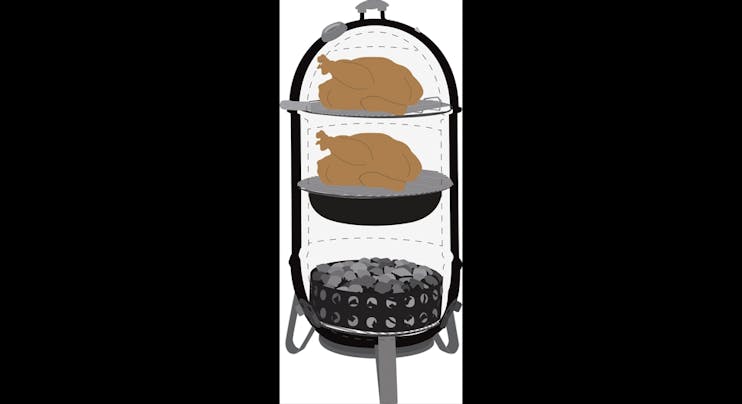
- Take the smoker apart into 3 sections. Place your chimney starter on the middle section of the smoker.
- Light a chimney starter that is filled ¾ of the way with Weber Briquettes and wait until it is ashed over.
- Place 6 wood chunks (4 cherry and 2 hickory) in an X shape on the bottom charcoal grate.
- Fill the bottom ring of the smoker about halfway up to the first circle with unlit briquettes; this will be equivalent to one chimney starter.
- Dump the lit briquettes on the unlit and let it kindle for 5-10 minutes. Put the smoker back together and place about 2-3 liters of water in the water pan. Set the bottom vents to about a quarter of the way open and keep the lid vent halfway open.
- Preheat for 10-15 minutes until the smoker stabilizes at your desired temperature. Use your iGrill to monitor the temperature while you smoke.
- If it is going to be cold where you live, like it will be here in the Midwest, then the turkey will take few extra minutes/pound to cook.
Time
- Keep the bottom vents locked in to about a quarter to halfway open and start with the top vent halfway open. Control the temperature throughout the process by turning the top vent to being more open to get the temperature higher or closing it a little to cool it down.
- Check the temperature of the turkey halfway through the cook, three quarters of the way and then when you think it is done to make sure that you are on the right track to hit 165. This will help you monitor the turkey and make sure it is not over cooked!
- The more you open the lid, the longer it will take to cook so be patient, relax and go watch some more football.
When is it done?
- Keep in the mind that the turkey could cook a little quicker than you expect so be sure to have checked it halfway, three quarters of the way and then when you think it is done.
- Check the temperature of the turkey on the innermost part of the thigh and the thickest part of the breast to make sure that it is fully cooked at 165 degrees before removing it.
- This step is important! Let it rest for 20-30% of the total cooking time. You can loosely cover the turkey with a piece of aluminum foil while it is resting or you can just leave it uncovered.
- Before you carve into that beautiful bird, share your pictures on social media with us! #BestTurkeyEver
- Looking for more turkey inspiration? Be sure to check out more tips here.


