Tags:
- fruit
- salsa
Official Weber Website
Watermelon Salsa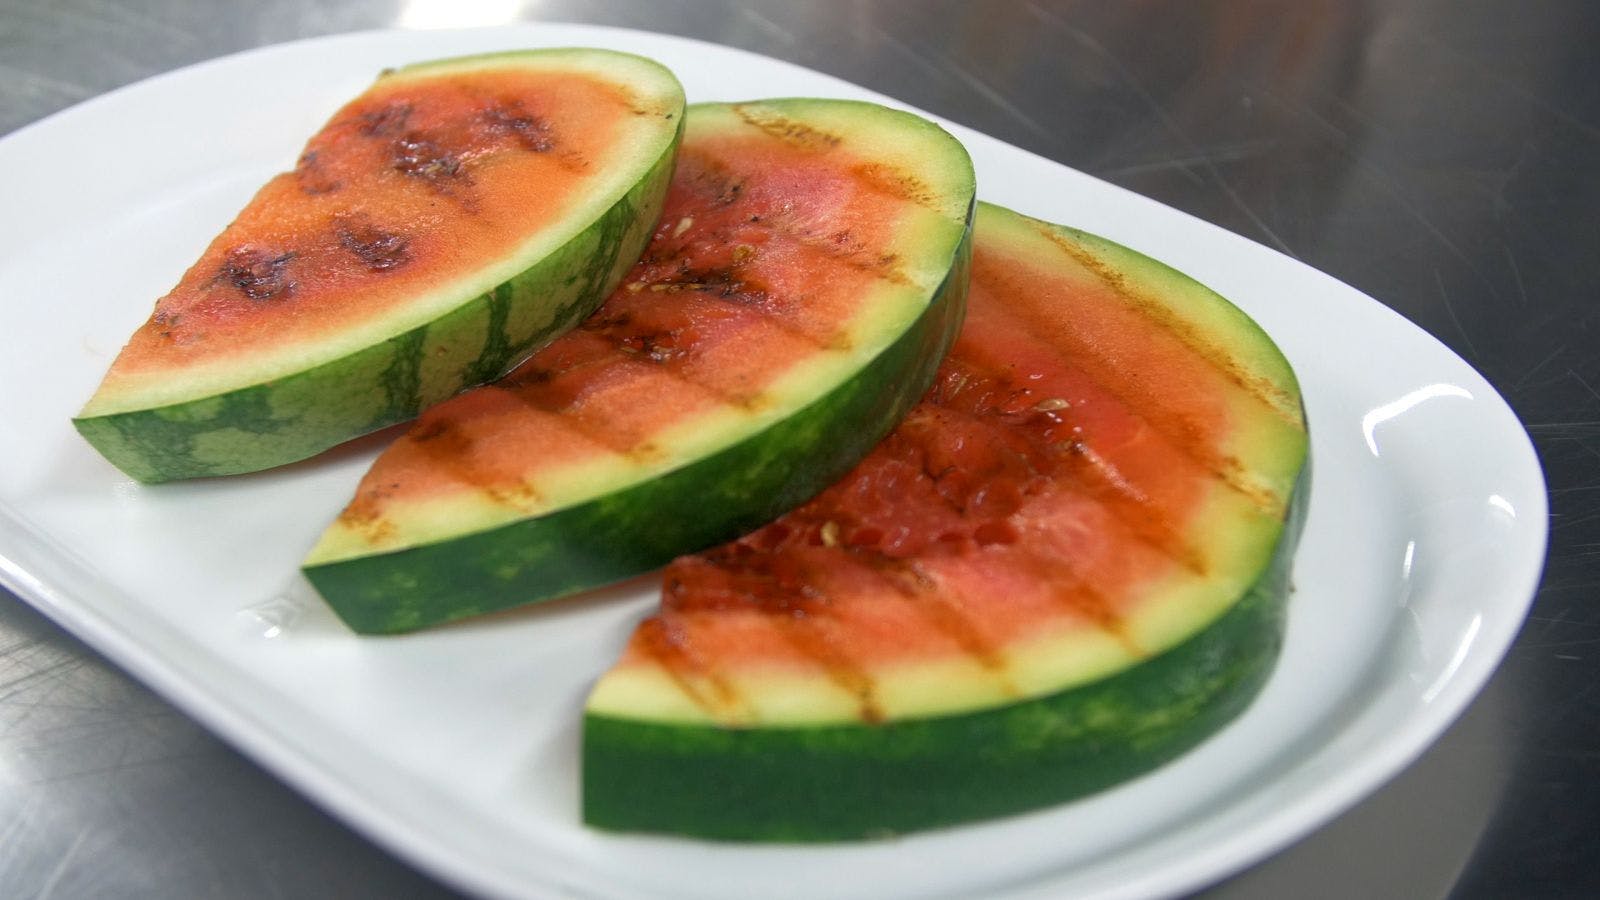
Watermelon will always be my go-to summer fruit. Chips and salsa is my biggest weakness. Throw them all together and I'm in for a dangerous, tasty summer treat! Check out the recipe below or click on over to the video to see this recipe in action.
Watermelon Salsa
Serves: 4
Prep time: 15 minutes
Chilling time: at least 1 hour
Grilling time: 1 minute
Ingredients:
2 tablespoons packed light brown sugar
3 round, 1-inch-thick slices watermelon, each cut in half
½ cucumber, seeded and finely diced
3 tablespoons chopped fresh mint leaves
1 shallot, finely diced
1 jalapeño chile pepper, seeded and finely diced
Juice and finely grated zest of 1 lime
1 tablespoon rice wine vinegar
¼ teaspoon crushed red pepper flakes
¼ teaspoon kosher salt
Instructions:
1. Prepare the grill for direct cooking over medium heat (as close to 400°F as possible).
2. Sprinkle the brown sugar evenly on both sides of each slice of watermelon, and then grill over direct medium heat, with the lid closed, for 1 minute, turning once. Remove from the grill. Cut off and discard the rind, and dice the watermelon.
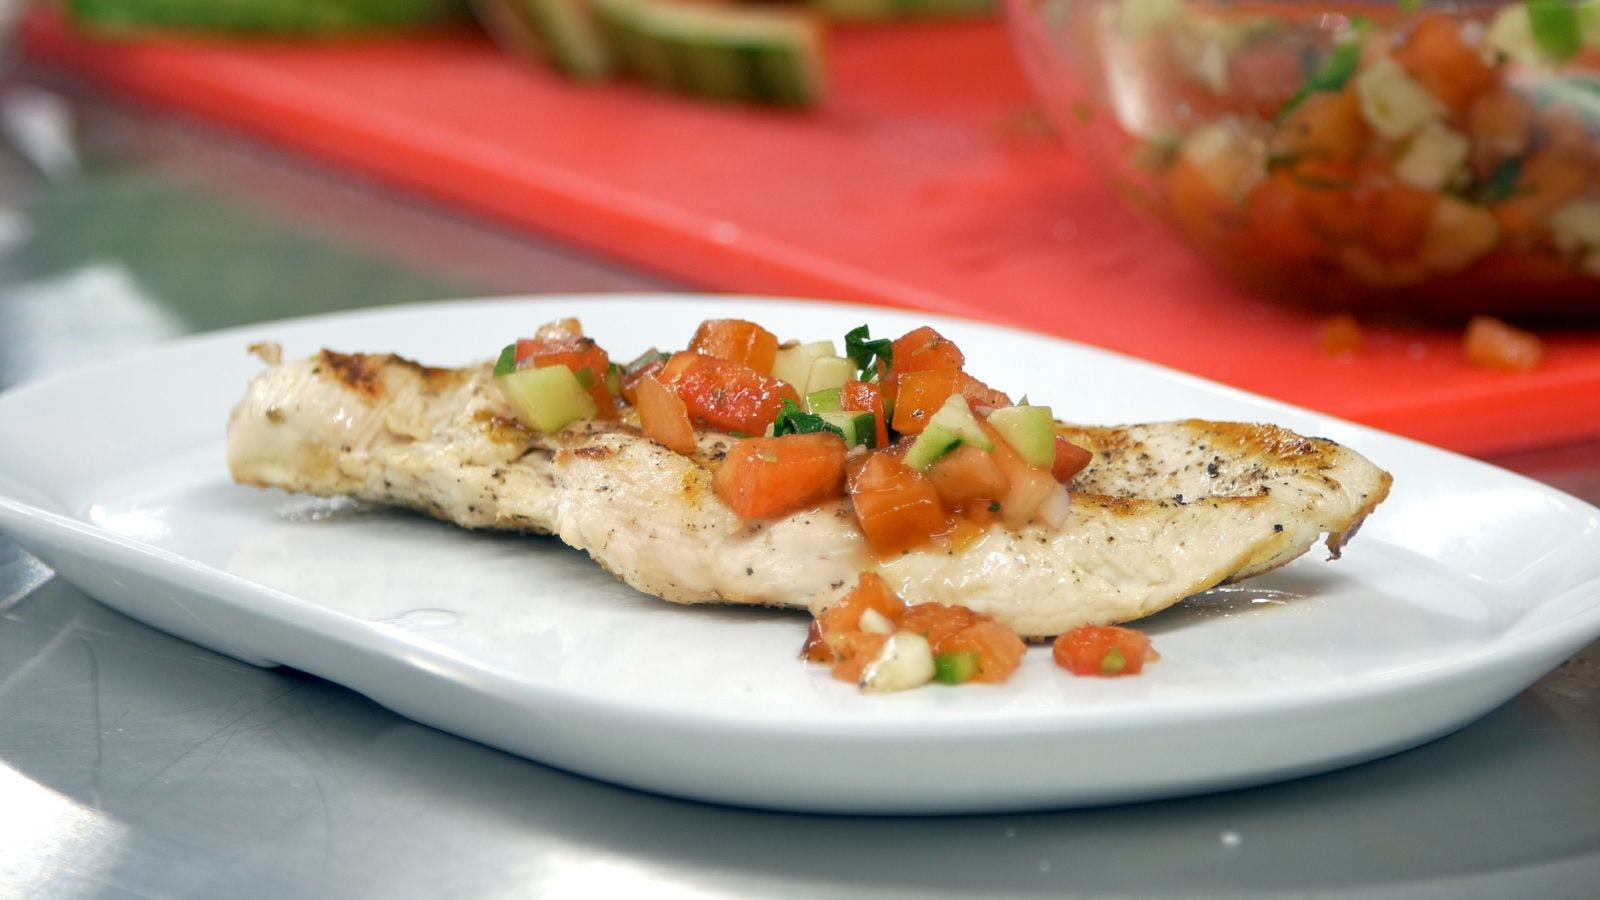
3. In a serving bowl combine the cucumber, mint, shallot, jalapeño, lime juice and zest, vinegar, crushed red pepper flakes, and salt. Fold in the watermelon. Cover and refrigerate for at least an hour to combine the flavors. Serve the salsa with fish, chicken, or pork. ENJOY!
Huevos Rancheros
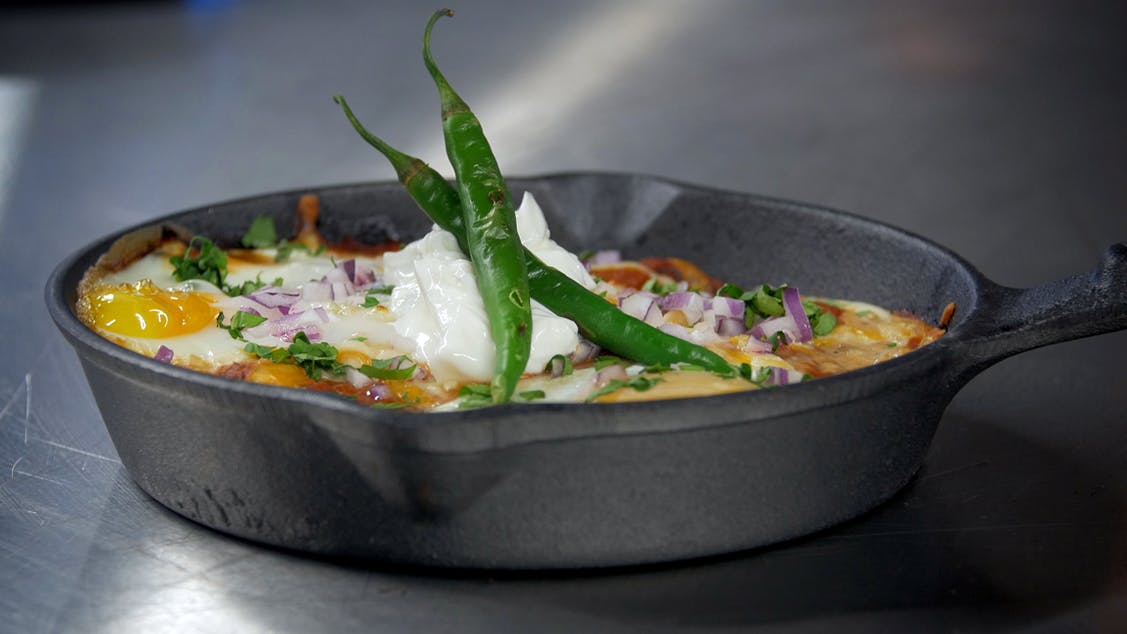
One of my favorite meals to prepare on the grill is breakfast…and one of my favorite cuisines are Latin American dishes. It's good to know that when I’m grilling on the go I can still prepare this classic brunch offering of Huevos Rancheros! The crispy grilled corn tortillas layered with refried beans, cheese, salsa and eggs served in a cast iron skillet makes for a crowd pleaser wherever I go, no matter what time of day! Check out the recipe below or click on over to the video to see this recipe in action.
Huevos Rancheros
Serves: 2
Prep time: 15 minutes
Grilling time: 16 to 18 minutes
Special equipment: 8-inch cast-iron skillet
Ingredients:
2 corn tortillas (6 inches)
Olive oil
¼ cup refried beans (from a can)
1½ cups tomato sauce
½ cup grated cheese, such as Monterey Jack and/or cheddar
2 large eggs
Finely diced red onion
Sour cream
1 jalapeño chile pepper, seeded and cut into thin slices
Chopped fresh cilantro leaves
Instructions:
1. Prepare the grill for direct cooking over medium heat (as close to 450°F as possible).
2. Brush the tortillas on both sides with oil, and then grill over direct medium heat, with the lid closed, until crisp, 4 to 6 minutes, turning once or twice. Remove from the grill and spread one of the tortillas with the refried beans.
3. Place the tortilla with the beans in the bottom of an 8-inch cast-iron skillet, and then place the tortilla without the beans on top. Pour the tomato sauce over the tortillas and scatter with the grated cheese. Make two shallow indentations on top of the mixture, and crack one egg into each indentation.
4. Place the skillet over direct medium heat, close the lid, and cook until the eggs are set to your liking, about 12 minutes. Remove from the grill and garnish with onion, jalapeño, sour cream, and cilantro. Serve warm, right from the skillet. ENJOY!
Grilled Avocado with Salmon Salad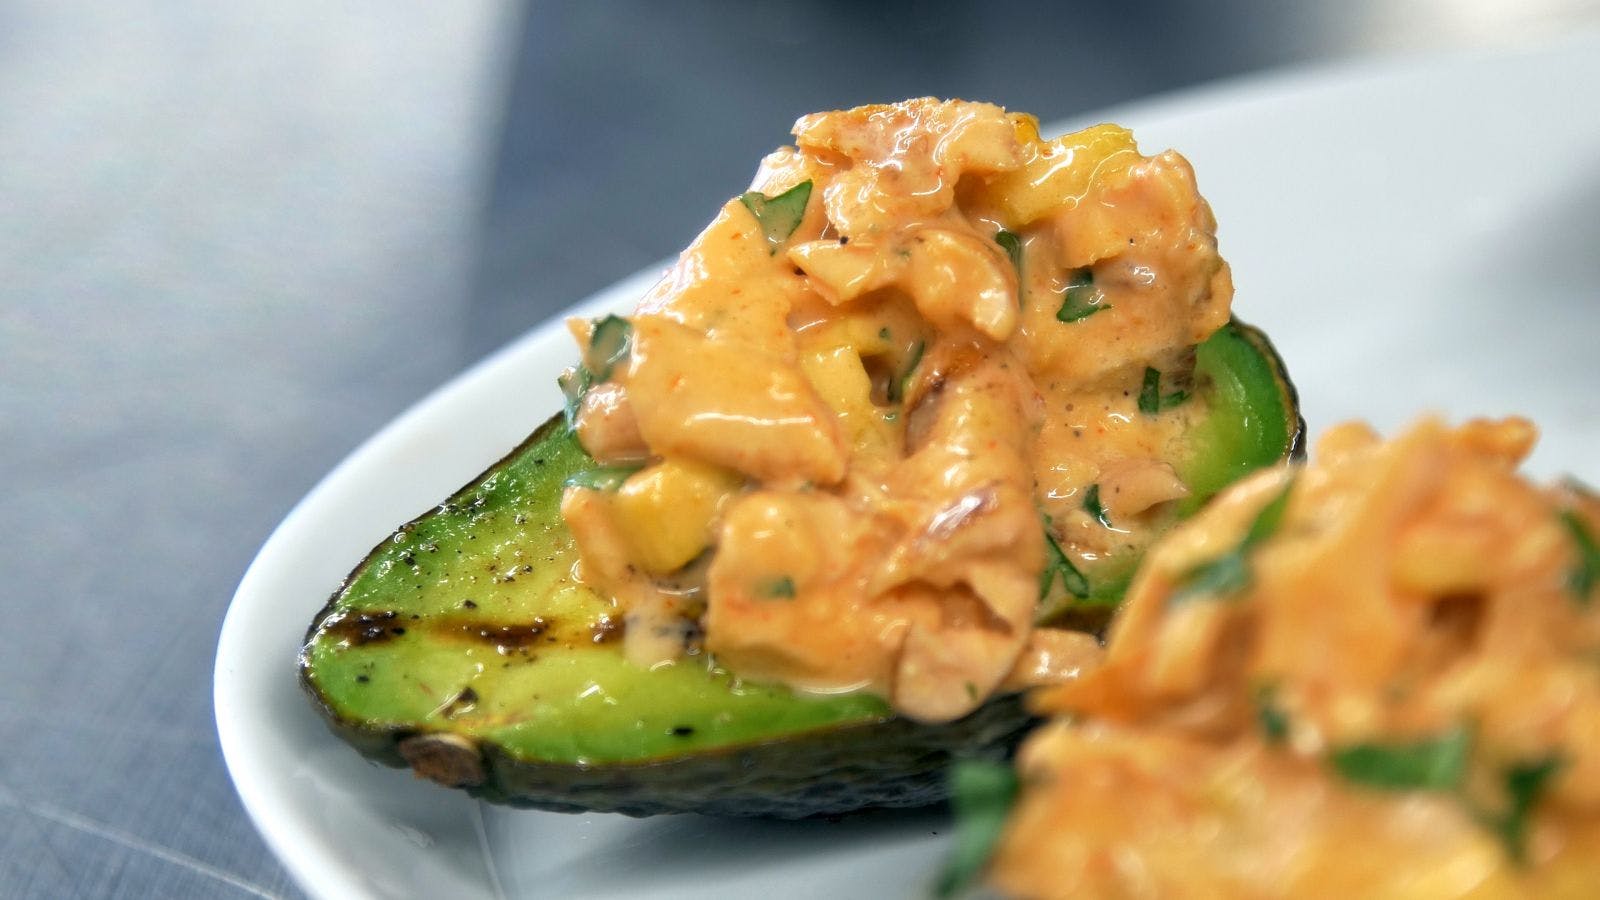
Having grown up in Mexico, one of my favorite childhood memories is picking avocados from the trees in my backyard. Throughout the years, I’ve experimented with grilling this versatile superfood. In this recipe, grilled avocado halves act as a unique, nutritious cup for grilled salmon salad. It's a practical and delicious dish for BBQ parties and gatherings, providing a healthy option full of smoky flavor and creaminess! Check out the recipe below or click on over to the video to see this recipe in action.
Grilled Avocado with Salmon Salad
Serves: 6 to 8
Prep time: 15 minutes
Grilling time: 6 to 8 minutes
Ingredients:
2 avocados
Grilled salmon
(you can grill it anyway you like, here are some tips)
2 mangos
Dressing
Juice of 2 limes
2 tablespoons cilantro
or flat leaf parsley
4 tablespoons olive oil
2 tablespoons rice wine vinegar
2 tablespoons raw honey
2 tablespoons mayonaise
2 tablespoons siracha
Instructions:
1. Prepare the grill for direct cooking over medium/high heat (as close to 450°F as possible).
2. Cut the avocados in half and remove the pit and slice the mangos. Brush the avocados with olive oil, sprinkle with salt and pepper. Grill both over direct medium/high heat, with the lid closed, for 2 minutes, turning once. Remove from the grill.
3. Flake the cooled, grilled salmon. At the same time, make the dressing by combining the ingredients. Add the flaked salmon to the dressing and mix.
4. Use a spoon to make the hole in the avocado where the pit was larger.
5. Dice the grilled mango slices. Add to the salmon dressing. Add a splash of lime juice, then season with salt and pepper to taste.
6. Scoop the salmon salad into the avocados. Garnish with cilantro or parsley. Add a splash of lime juice. ENJOY!
Cheesy Nachos with Grilled Steak
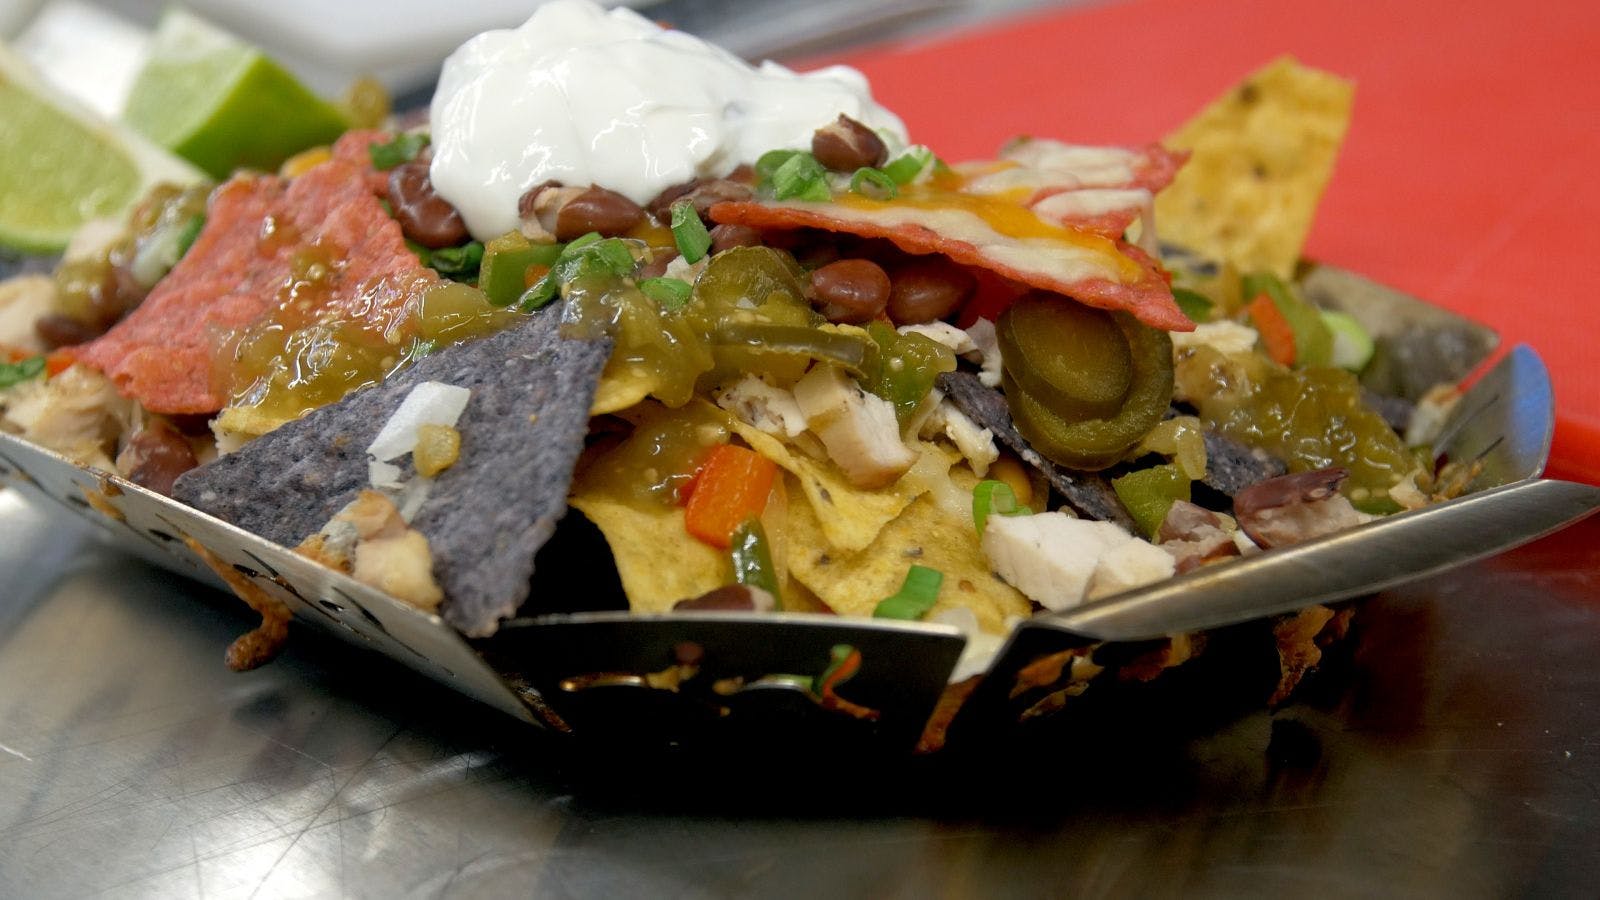
So simple but oh so good! Now wherever you go, you too can have the power of grilling your own nachos. Perfect for entertaining to tailgates… nachos never get tired…especially when they’re grilled.
Utilize your veggie baskets as cooking and serving vessels for your nachos then stack away with your favorite ingredients and cheese… and get grilling! Check out the recipe below or click on over to the video to see this recipe in action.
Cheesy Nachos with Grilled Steak
Special Equipment: 1 Large Weber Grill Stainless Steel Grill Basket
Ingredients:
1 bag of tri colored tortilla chips
1 cup shredded marble cheese (or any melting cheese)
8oz flank steak grilled and thinly sliced
2 green onions thinly sliced
2 tablespoons hot pepper rings or pickled jalapeno rings (optional)
4 tablespoons sour cream
8 tablespoons salsa
4 tablespoons guacamole
Instructions:
1. Prepare the grill for direct cooking over medium/high heat (as close to 450°F as possible).
2. Spread a layer of tortilla chips on the bottom of the Weber grill basket to cover the bottom. Sprinkle half the shredded cheese over top the layer of nachos in the basket. Spread half of the slices of grilled flank steak on top of the cheese. Spread 2 tablespoons of salsa over the nachos. Add a second layer of nachos. Spread the remaining cheese and flank steak over the second layer of nachos. Add 2 tablespoons of salsa around the top of the nachos
3. Reduce the grill to medium/low once the nachos are ready to be placed on the grill and place the Weber grill basket on to the grill and close the lid. Set a timer for 10 minutes.
4. After 10 minutes check to see if the cheese has melted to the desired point. If not, rotate the basket and set the timer for another 5 minutes.
5. Once done, remove from the grill and top the nachos with the thinly sliced green onion and the hot pepper or jalapeno rings (optional).
6. Serve this snack in the Weber grill basket accompanied with the sour cream, guacamole and remaining salsa. ENJOY!
Grilled Romaine Salad with Shrimp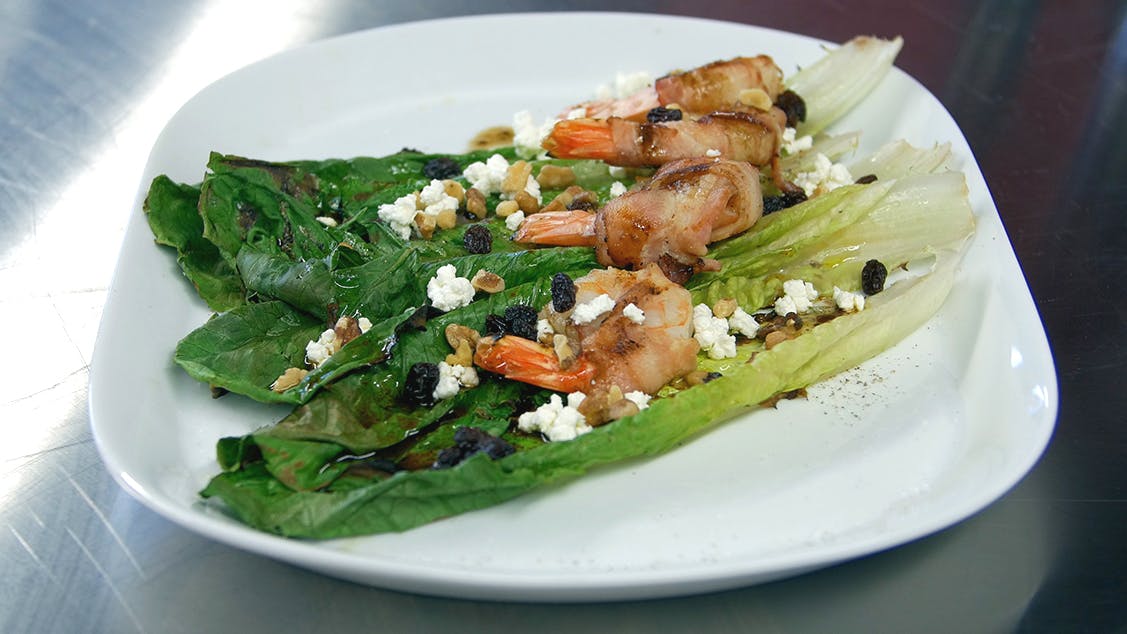
Grilled lettuce is an unfamiliar concept to most. People tend to associate lettuce with a cold salad yet grilled lettuce yields very interesting flavors. The char on the romaine lettuce reduces its bitterness and infuses a nice sweet smoky flavor.
Try grilling some proteins such as shrimp, bacon or chicken. The process of grilling will caramelize proteins, which helps seal in the natural juices and flavors. Check out the recipe below or click on over to the video to see this recipe in action.
Grilled Romaine Salad with Shrimp
Serves: 4
Prep time: 20 minutes
Grilling time: 1 minute
Ingredients:
3 heads of romaine lettuce
Cooked shrimp, about 5 per person
Olive oil
Vinaigrette
1/2 cup olive oil
1/4 cup balsamic vinegar
2 tablespoons Dijon mustard
1 tablespoons sugar
Salt & pepper
1/2 cup crumbled goat cheese
3 tablespoons golden raisins
3 tablespoons walnuts
Salt & pepper
Instructions:
1. Preheat the grill for direct cooking over medium heat (350-450 F).
2. Wash the heads of romaine, then brush each leaf of romaine with olive oil and season with salt and pepper.
3. Make vinaigrette by whisking together the ingredients in a small bowl.
4. Place the romaine leaves onto the grill over direct medium heat. Close the lid and let it cook for 30 seconds or until slightly wilted. Remove from the grill.
5. Place grilled lettuce on a place. Add cooked shrimp (or chicken or whatever protein you like to add to your salads). Drizzle the vinaigrette. Add goat cheese, walnuts, golden raisins. ENJOY!
Grilled Sangria
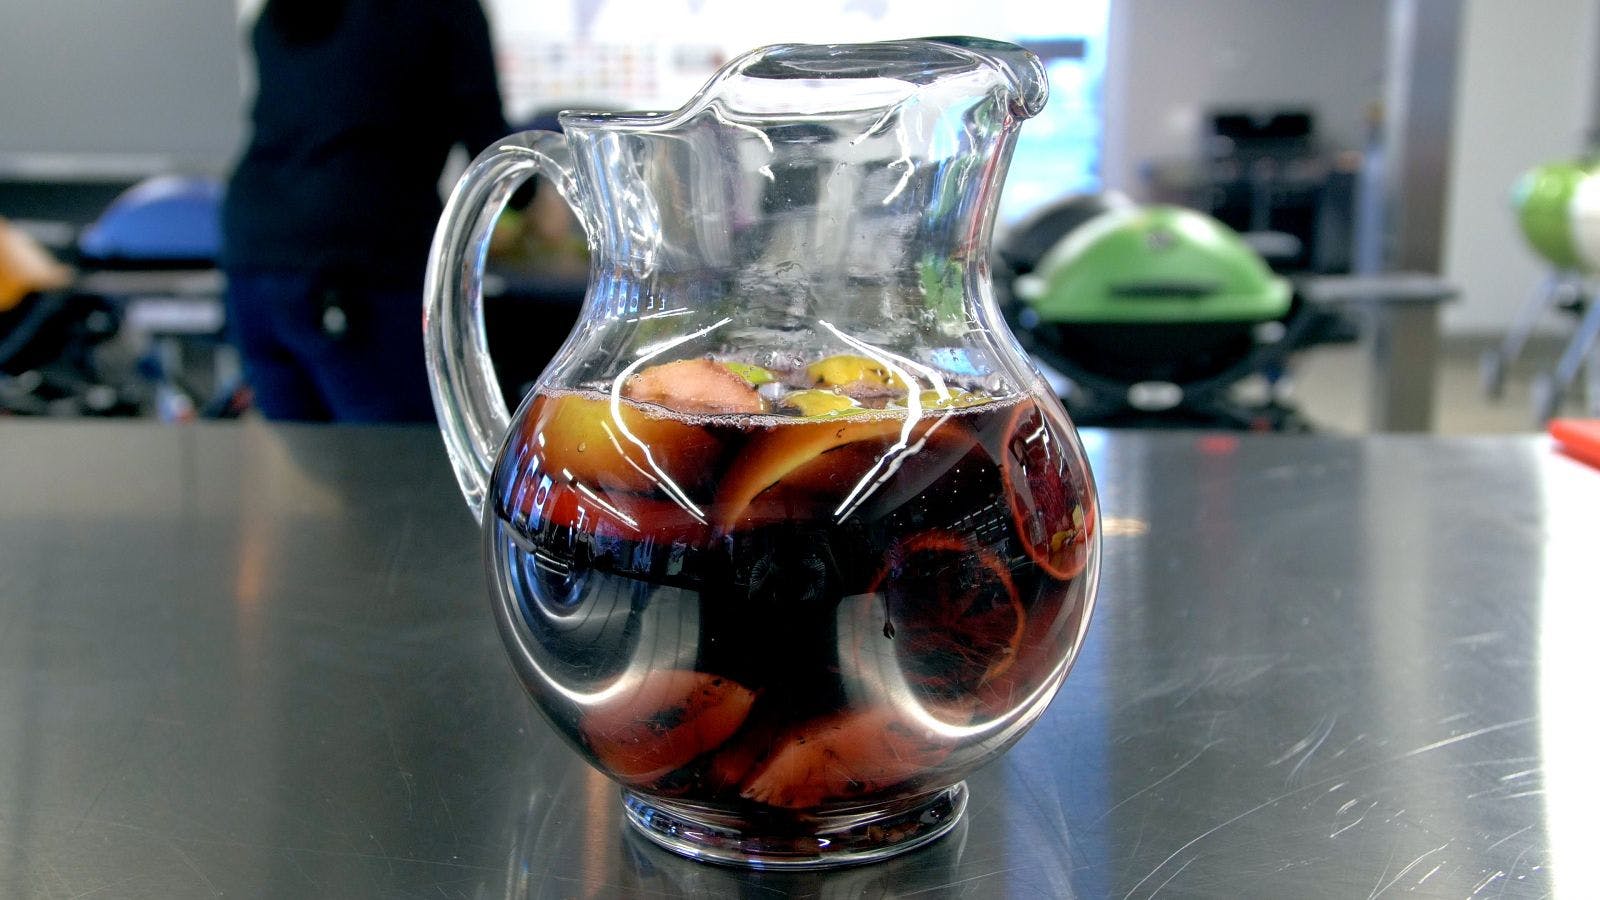
Traditional sangria is comprised of fresh fruit and wine. If you love sangria, then make this drink even more special by adding in some grill flavor. When you grill fruit it becomes sweeter from the carmelization process of the natural sugars. The caramelized fruit and wine make for a delicious combination. Check out the recipe below or click on over to the video to see this recipe in action.
Grilled Sangria
Serves: 8
Prep time: 20 minutes
Grill time: 2 minutes
Chilling time: up to 24 hours
Special equipment:
Pitcher
Ingredients:
Whatever fruit you like (Peaches, Pineapple, Plums, Cantaloupe, Apples, pineapple, oranges, etc)
Leftover red or white wine
Ice
Instructions:
1. Preheat the grill for direct cooking over medium heat (350-450 F).
2. Cut whatever fruit you like into big chunks/slices.
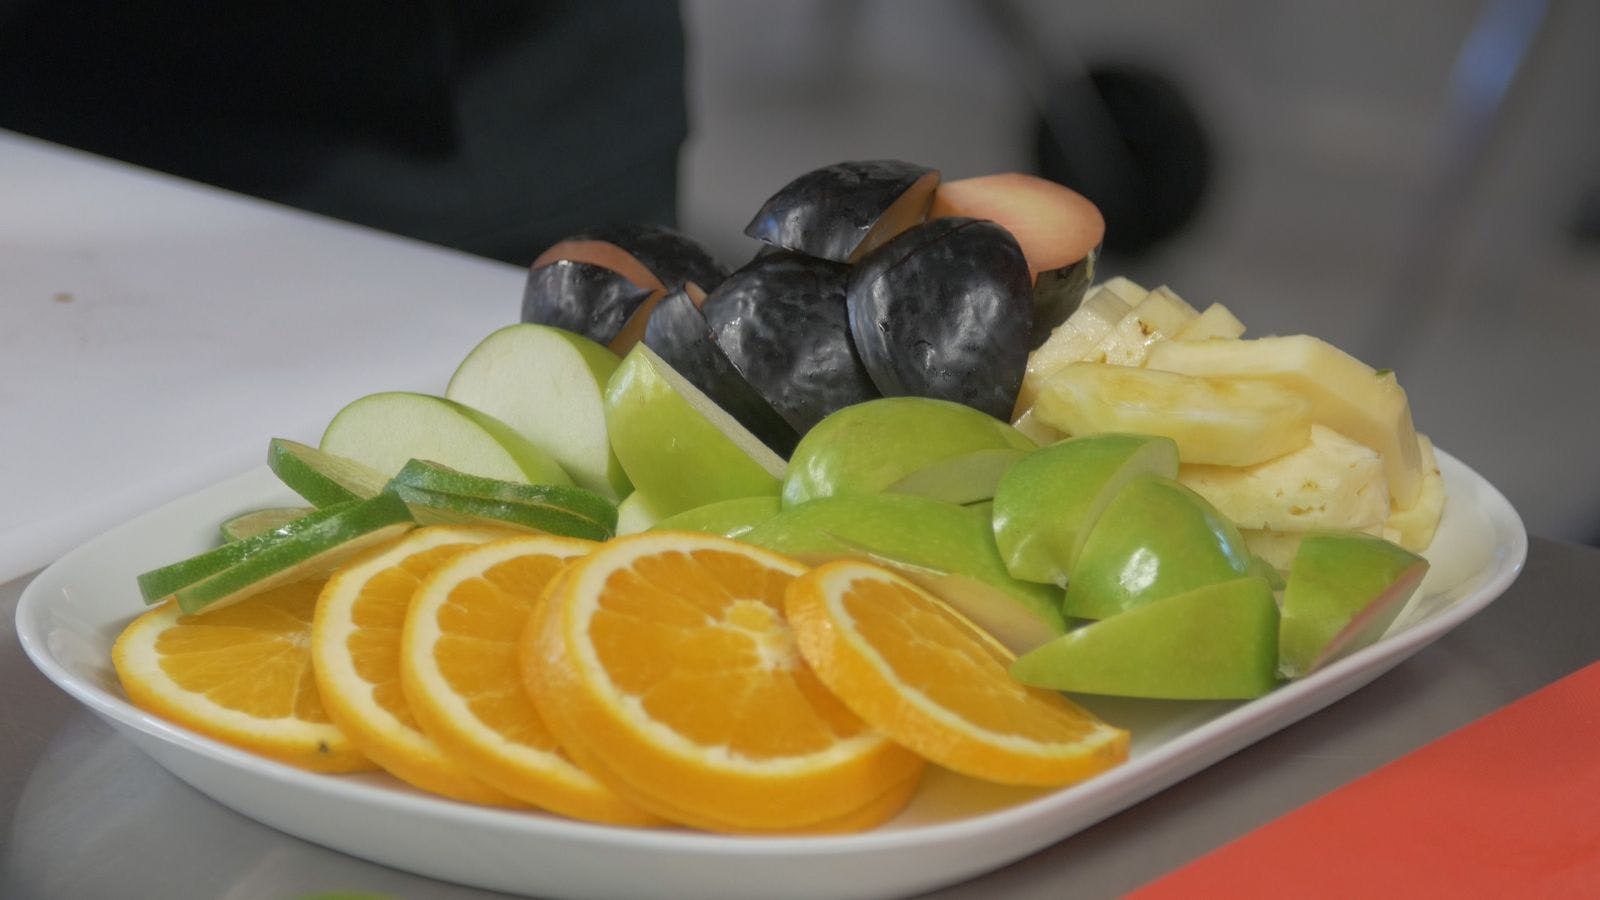
3. Place the fruit over direct medium heat. Grill for about 2 minutes, flipping once. Remove from the grill.
4. Fill pitcher a quarter of the way full with ice. Add grilled fruit. Then top the pitcher off with wine. Stir. Refrigerate for up to 24 hours. ENJOY!
Cedar-Planked Onion Flower
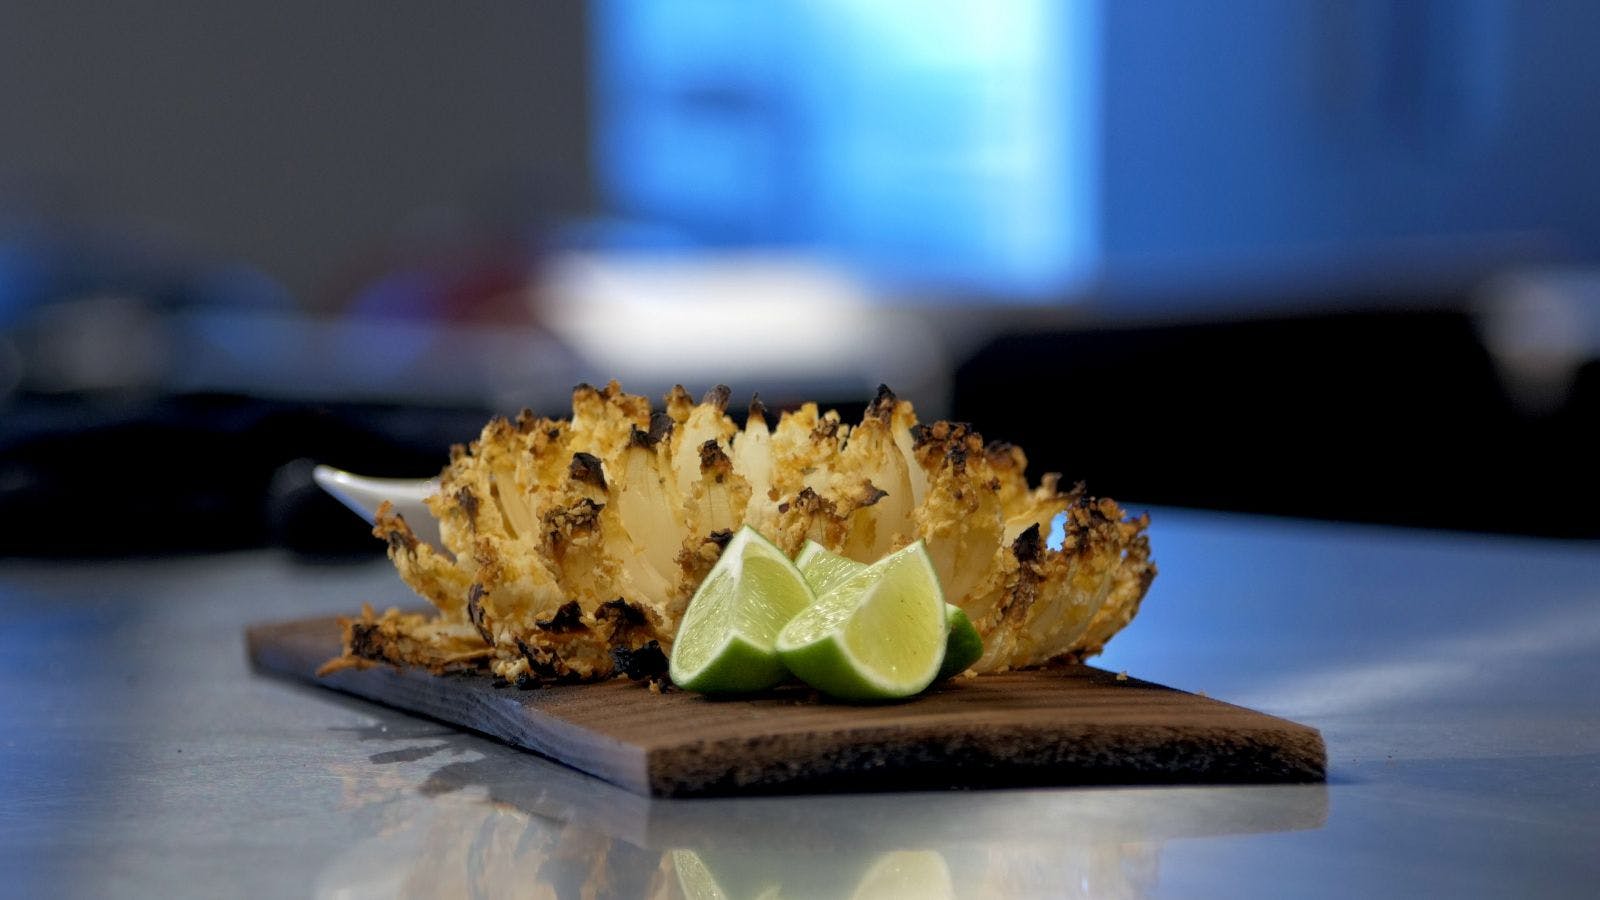
Using your bbq you too can prepare a tasty and healthier spin on a traditionally deep fried recipe. Using the cedar plank and a lightly breaded sweet onion, you too can achieve a fresh approach to a carnival classic. Let the aromas from the cedar plank envelope the sweet onion for a tasty array of flavors hot off a Q1200 grill. Check out the recipe below or click on over to the video to see this recipe in action.
Cedar-Planked Onion Flower
Serves: 4
Prep time: 20 minutes
Grilling time: about 30 minutes
Special equipment: 1 untreated cedar plank
Ingredients:
1 large Vidalia onion, peeled, root end trimmed but kept intact
¼ cup all-purpose flour
Kosher salt
Freshly ground black pepper
1 large egg, beaten
¼ cup panko bread crumbs
2 tablespoons Parmesan cheese
1 teaspoon dried oregano
1 teaspoon granulated garlic
1 teaspoon paprika
Extra-virgin olive oil
Your favorite dipping sauce
Instructions:
1. Soak the cedar plank in water for at least 1 hour.
2. Prepare the grill for direct cooking over medium heat (350° to 450°F).
3. Place the onion on a work surface, root end up. Make 12 incisions, each about 1-inch deep, evenly spaced around the onion. Turn the onion over and spread the “petals” apart.
4. In a shallow bowl combine the flour, ½ teaspoon salt, and ¼ teaspoon pepper. Put the egg in another bowl. In a third bowl whisk the bread crumbs, cheese, oregano, granulated garlic, paprika, 1 teaspoon salt, and ½ teaspoon pepper.
5. Dip the top of the onion in the seasoned flour, then in the egg, and finally in the bread crumbs, making sure the bread crumbs reach the inner petals of the onion.
6. Place the cedar plank over direct medium heat and close the lid. After 5 to 10 minutes, when the plank begins to smoke and char, turn the plank over. Place the onion on the plank, drizzle the onion with a little oil, cover the onion with foil, and then grill over direct medium heat, with the lid closed, until tender and golden brown, about 30 minutes, removing the foil and rotating the onion after 10 minutes. Serve the onion on the cedar plank with your favorite dipping sauce. ENJOY!
Grilled Jalapeño Poppers

At most parties I like to provide a wide range of grilled finger foods for my guests to enjoy…something to stimulate their appetites as we get closer to the main event.
This jalapeño popper gets the party poppin’ every time what with the zing of the jalapeño combined with the creamy cheese & horseradish filling then capped and wrapped with BOTH sausage and bacon. Grab a napkin when eating…its an explosion of flavors!! Check out the recipe below or click on over to the video to see this recipe in action.
Grilled Jalapeño Poppers
Serves: 8
Prep time: 15 minutes
Grilling time: about 16 minutes
Special equipment: 16 toothpicks
Ingredients:
8 slices lean bacon, each cut crosswise in half
4 fully cooked smoked sausages, each 3 to 4 ounces
¼ cup grated cheese, any type you like that will melt
¼ cup cream cheese
¼ cup smoked almonds, coarsely chopped
2 teaspoons Worcestershire sauce
1 teaspoon prepared horseradish
8 jalapeño chile peppers
Instructions:
1. Soak the toothpicks in water for at least 30 minutes.
2. Prepare the grill for direct cooking over medium heat (350° to 450°F).
3. In a microwave oven on high, cook the bacon until the fat is slightly rendered, 2 to 3 minutes.
4. Brush the cooking grates clean. Grill the sausages over direct medium heat, with the lid closed, until nicely browned and heated through, about 8 minutes, turning once. Remove from the grill and, when cool enough to handle, cut each sausage crosswise, and then cut each piece lengthwise.
5. Combine the grated cheese, cream cheese, almonds, Worcestershire sauce, and horseradish.
6. Cut the tops off the jalapeños, and then cut each jalapeño lengthwise in half. Remove the seeds and veins. Fill each jalapeño half with some of the cream cheese mixture, and level it off. Then top each with a piece of sausage, creating a cylinder shape, and wrap with a piece of bacon, winding it around in a spiral. Secure with a toothpick.
7. Grill the poppers over direct medium heat, with the lid closed, until the bacon is crisp, about 8 minutes, turning once or twice. Remove from the grill and let rest for 10 minutes. Serve warm. ENJOY!