Buy now, pay later. Rates as low as 0% APR financing with Affirm. Subject to eligibility. Terms Apply.
Installing iGrill 3 in 10 Quick Steps
Grilling Inspiration
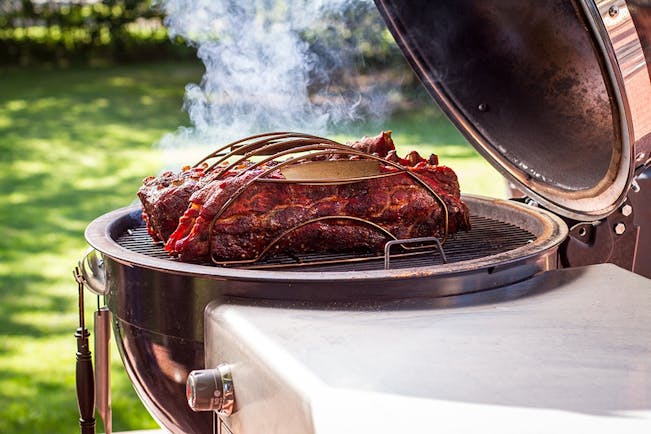
Ribs Roundup: Top Tips and Recipes for Smoky, Tender Ribs
Tips & Techniques
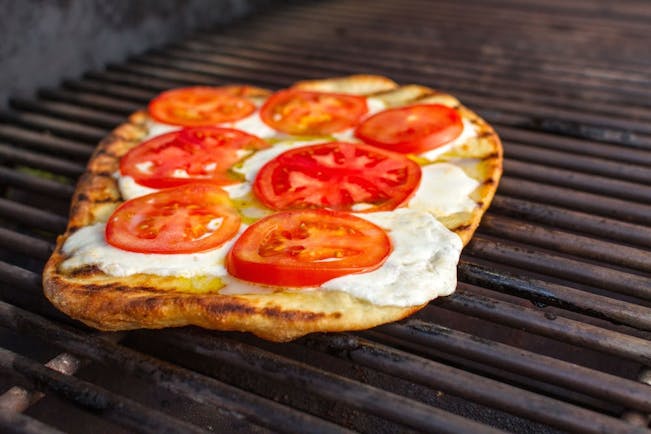
Entertaining With Grilled Pizza
