EASTER GETAWAY BUNDLES - SHOP NOW
The Weber Kettle that has forever changed
Low and Slow Barbecuing
We have all heard of slow cooked barbecue meats, from pulled meats like lamb, beef or pork, to ribs and brisket. Without a doubt there has been a rise in the popularity of cooking and barbecuing low and slow. I even have found myself addicted to the mesmerizing process of cooking delicious meats, slowly, for hours on end.
I first got into low and slow cooking by using a Weber Kettle and setting it up with the ‘snake method’ which is a tedious process and requires attention but is produces great results.
So I am very excited to announce that Weber have evolved the much loved Kettle to include specific features that make low and slow cooking easy with minimal effort to set up and maintain the fire. For anyone who wants to get into low and slow barbecuing this is a fantastic way to get started.
Low and Slow cooking is a barbecue technique where food is roasted at low temperatures (generally between 95°C to 135°C) for many hours. Usually with the addition of smoking woods to add extra flavour to the meat. This technique is fantastic for tough cuts of meat that need to be cooked for a longer amount of time to breakdown the fat, muscles and collagen which results in fall apart or melt in the mouth meats.
The new Mastertouch Plus Kettle comes with many added features but these are my three favourite features that make it the ultimate 3 in one barbecue to cook low and slow on:
Char Ring
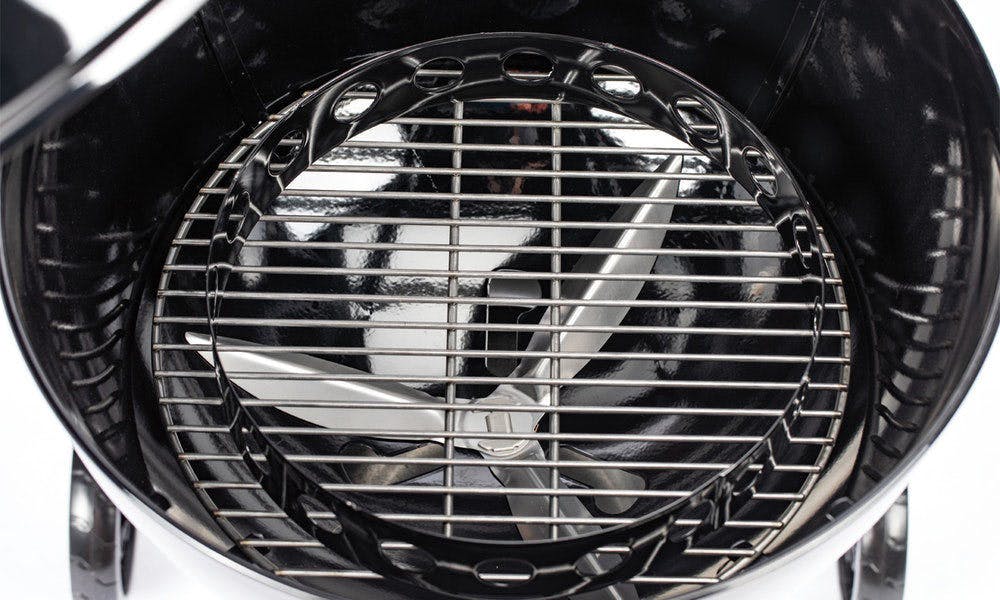
The char ring sits on top of the charcoal grate. Fuel is added into the ring. The ring helps to keep the fuel together, giving you consistent heat and longer burn times as the fuel is kept ‘snug’ to reduce unnecessary exposure to air. The ring also help to keep the air flow consistent around the outside of the fuel.
Diffuser Plate
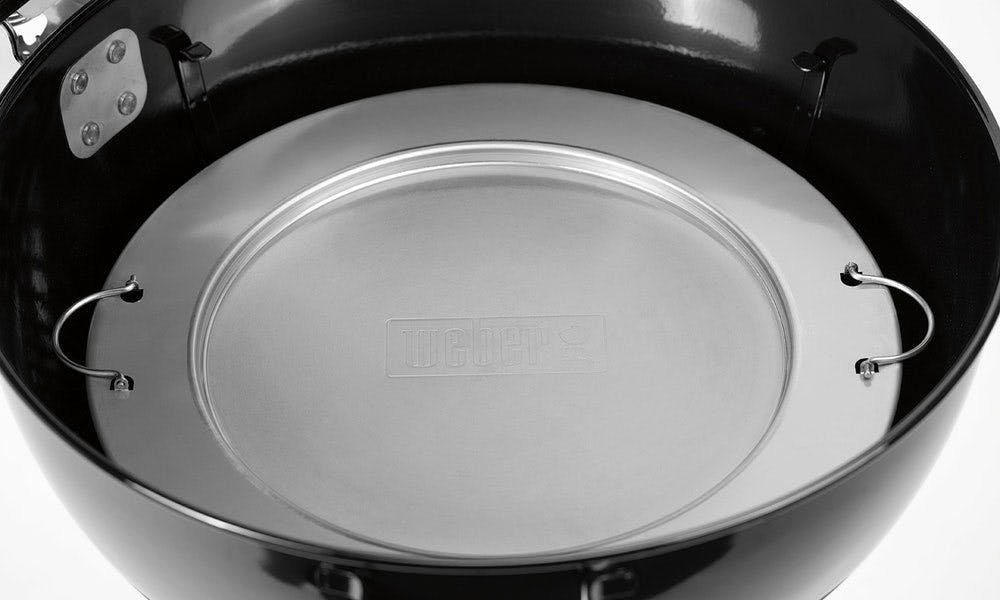
The diffuser plate sits on top of the charcoal ring. This diffuser plate helps to again reduce the airflow to the fuel, meaning the fuel will burn slower and longer. The diffuser plate also creates a barrier between the fuel and the food, so the centre of the cooking grill becomes the protected, indirect cooking zone.
The ‘P Shaped” Vent
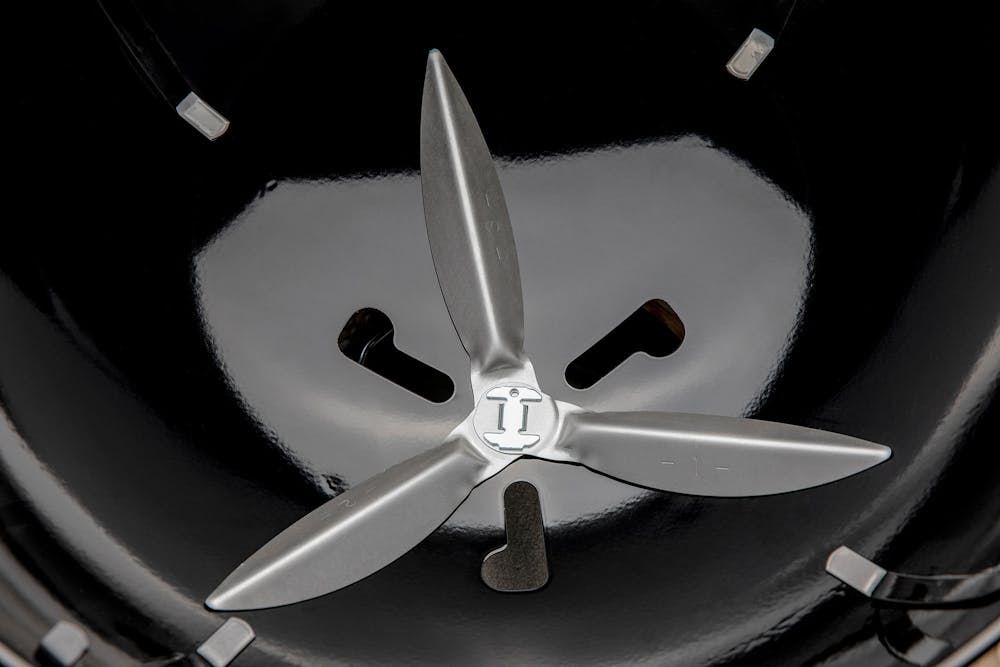
This vent is very clever and allows to you to precisely control the air flow in your Kettle. Instead of the traditional two setting bottom vent (open and closed) the Mastertouch Plus bottom vent has been shaped like a letter P. Following the easy to read symbols on the bottom vent you can slide it to the low and slow setting which allows just a limited amount of air through, thus giving you the consistent air flow control needed for low and slow cooking.
If you’re wanting to know more, here’s how to cook low and slow on the all new Weber Mastertouch Plus Kettle:
Step One:
Place the char ring in the centre of the charcoal grate.
Step Two:
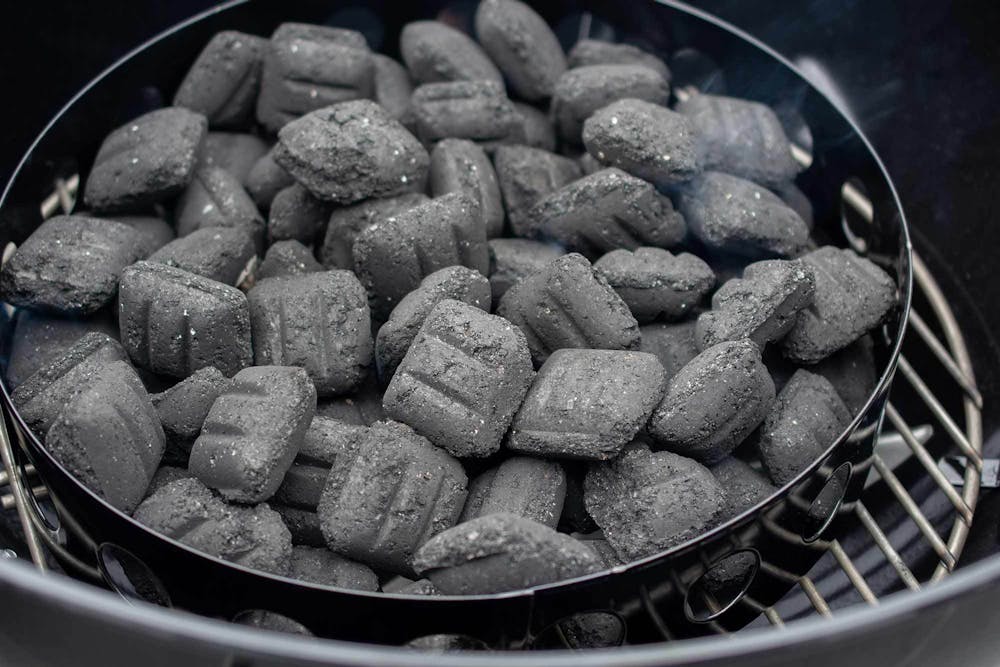
Pour Weber Barbecue Briquettes into the charcoal ring (see quantity table). Spread the briquettes out, ensuring that the diffuser plate can sit flat on top of the ring.
Weber Barbecue Briquette Quantity | Burn Time (Low and Slow 95 to 135°) |
|---|---|
| 50-55 Briquettes | 6-8 hours |
| 55-65 Briquettes | 10-12 hours |
Step Three:
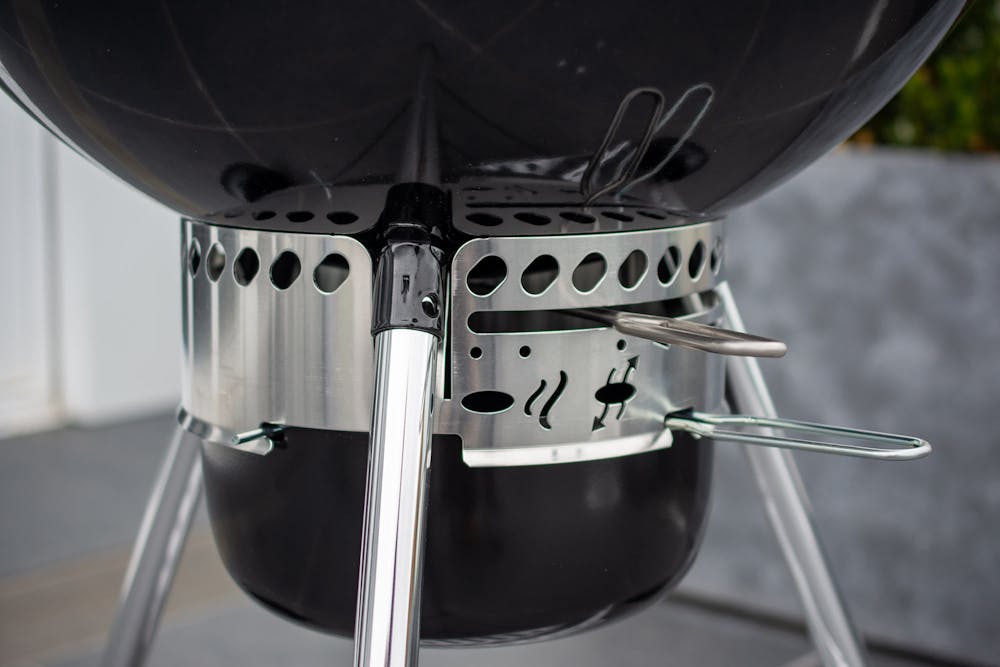
Adjust the bottom vent to the fully open position.
Step Four:
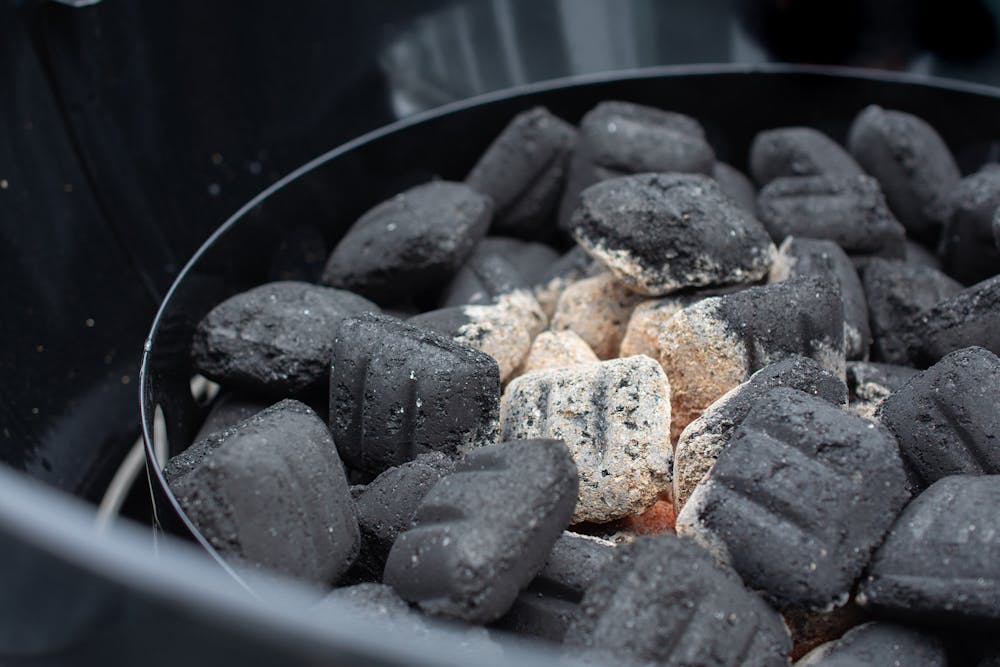
Place three fire-lighter cubes in the centre of the briquettes and light. Wait 20 to 25 minutes for the centre briquettes to light.
Note: By lighting the briquettes in the centre, they will slowly burn from the inside to the outside, creating even heat during the cooking time.
Step Five:
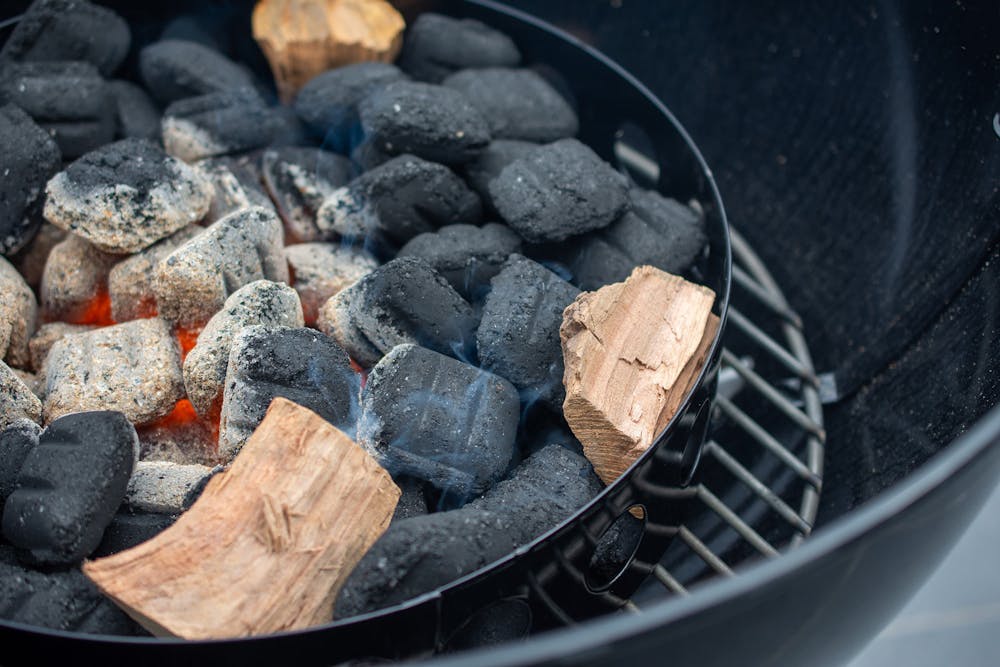
Place 2 to 4 smoking wood chunks around the perimeter of the lit fuel.
Step Six:
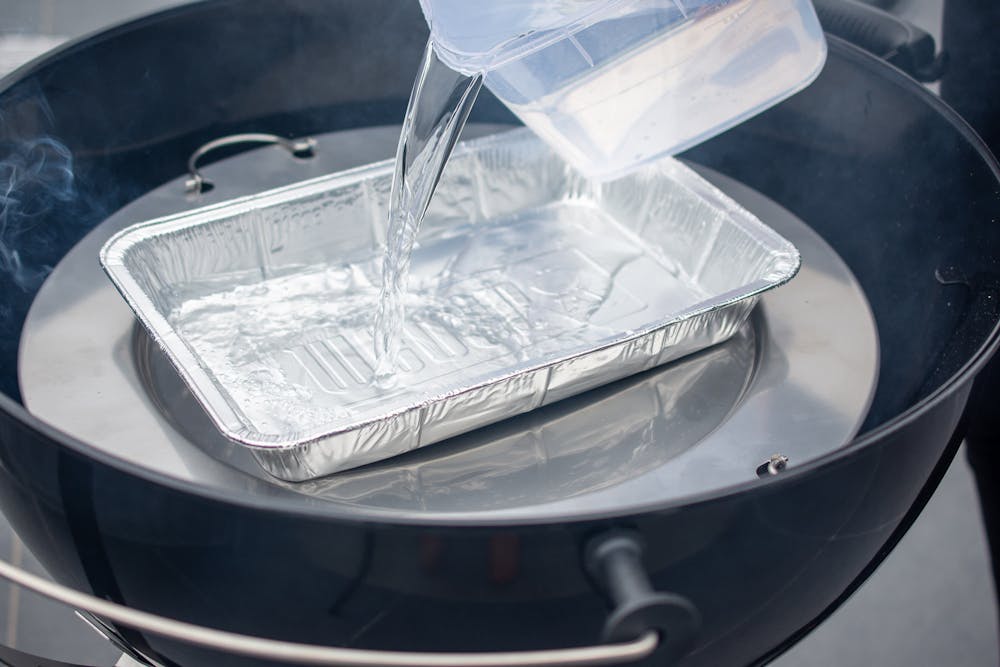
Place the diffuser plate ontop of the char ring, ensuring that it sits flat. For best results, place a disposable drip pan, filled with warm water ontop of the diffuser plate. This will help regulate the temperature inside the barbecue, catch food drippings, create moisture and help to infuse flavour into the meats.
Step Seven:
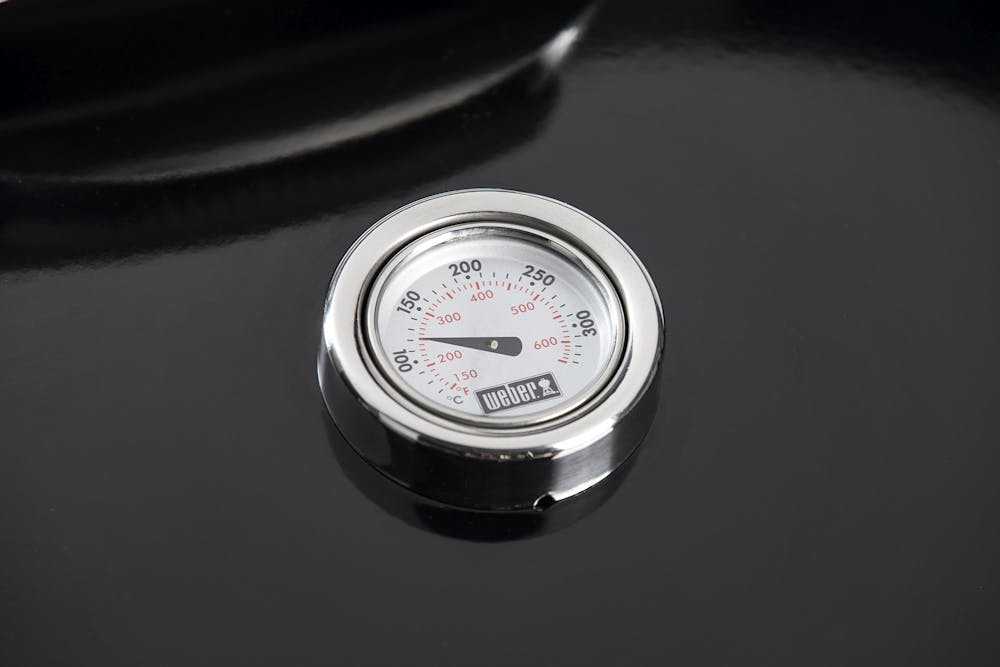
Set the cooking grill in place and put the lid on the barbecue with the lid vents open. Preheat the cooking grill for approximately 15 minutes, or until the temperature has reached the “smoke zone” (95°C to 135°C).
Step Eight:
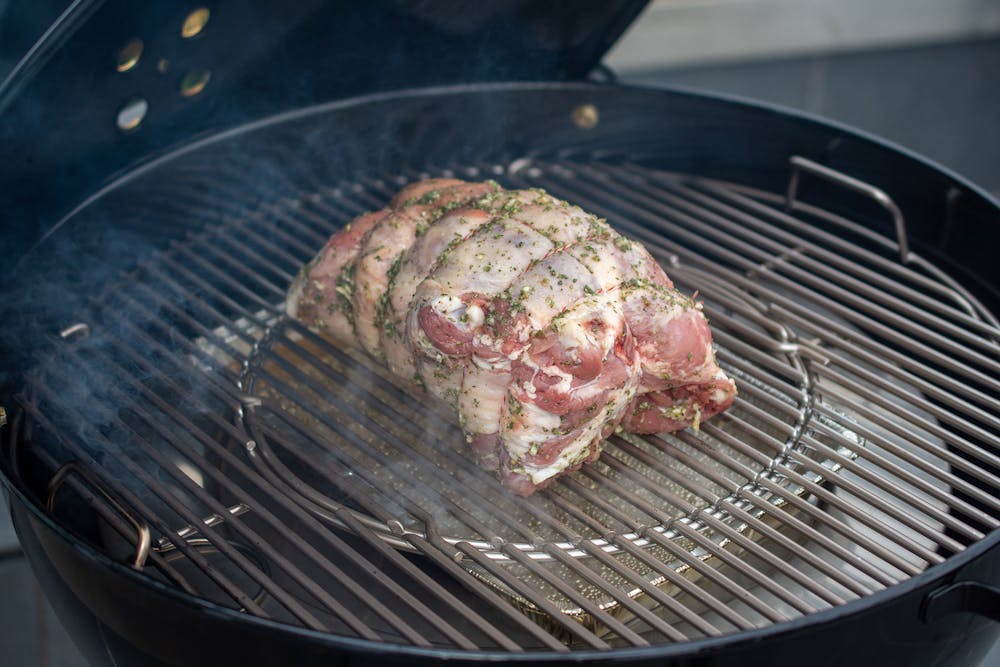
Once the barbecue has preheated, brush the cooking grill clean and place the food in the centre of the cooking grill, above the drip pan. Put the lid back on the barbecue.
Step Nine:
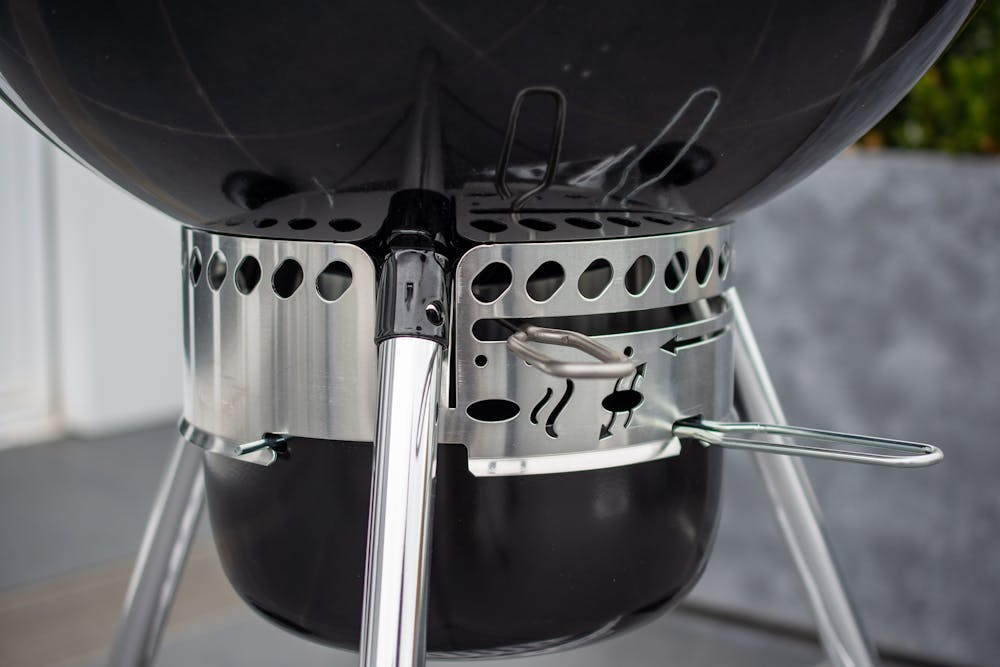
Swing the bottom vent to the smoking position (pictured). Once the temperature returns to the smoking zone, regulate the temperature as needed by adjusting the top vent. To decrease the temperature, close the top vent slightly, to increase the temperature, open the top vent slightly.
Now the Mastertouch Plus is set and ready to slowly roast your favourite meats.
For further information on the Mastertouch Plus visit Mastertouch Plus

