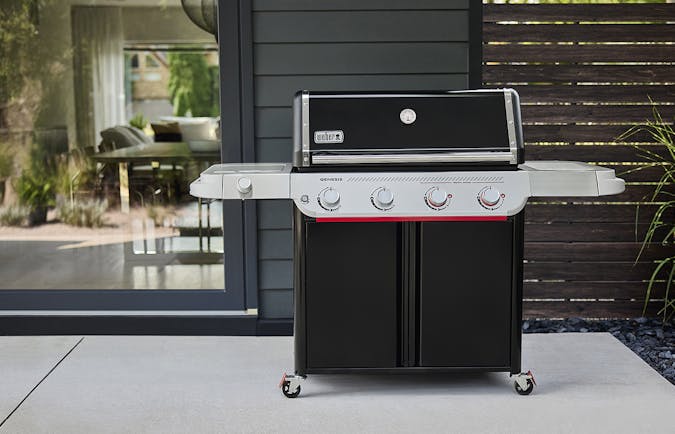
Don’t forget your trusty Weber® Q®
Spring Cleaning?
Let’s get started with tip number one, of these five maintenance tips you need to know to ensure your barbecue has been checked and is safe and ready to use this season, Check your Grill Brush.
Tip 1: Check your Grill Brush
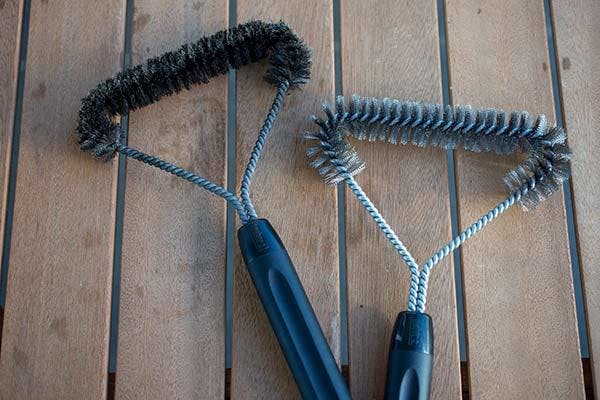
A staple piece of cleaning equipment you’ll constantly use is your 3-sided grill brush. Like all handy tools however, after lots of use they may need replacing. In this instance, if your Weber grill brush is clogged full of grease and debris, has many of its bristles flattened, bent or breaking off, then it’s time to replace it with a fresh brush. This avoids the risk of more bristles being left on the grill (which then could become stuck to your food), or inadequately cleaning your cooking grills, which is also not ideal for your health. Now that you’ve checked and possibly replaced your grill brush, let’s move onto tip 2.
Tip 2: The General Clean
Let’s get this underway. Open the lid of your Weber Q and remove the cooking grills (yes, they’ll need cleaning, but this will happen a bit later). Using your clean stainless steel grill brush, brush across the Q burner. This cleans and clears the holes in the burner tubes, and reduces the chance of forcing any extra debris down through the holes.
Next, using a Weber cookbox scraper, scrape the entire bowl of your cookbox. Clear the bowl of as much grease and debris as you can, scraping it down into the disposable drip tray below. It’s important to remove the built-up grease and debris in the bowl of your Weber Q so fat can easily run down into the drip tray.
Finally, remove and replace the disposable drip pan which sits below your Weber Q. It’s recommended to replace the drip pan after a layer of grease and debris has accumulated, or before doing a long cook or when cooking really fatty foods such as pork.
Tip 3: The Lid and Bowl
After performing the general clean, the inside of your barbecue should be looking fairly neat and tidy. There will however be some stubborn grease marks remaining in your bowl, and an accumulation on the inside of your Q’s lid. We recommend that you use a non-caustic cleaning product to clean the inside and outside of your Weber Q lid. Weber a Weber Q Cleaner which works particularly well to keep the lid and bowl of your Q clean. Simply follow the instructions on the bottle for maximum effect.
Note: You’ll never get all the smoke stains removed from inside of the lid, just make sure there isn’t a large build-up of grease present.
Tip 4: The Soapy Water Test
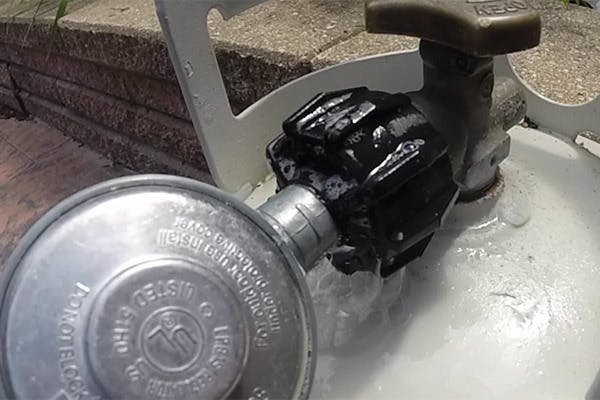
A critical part of the spring clean, and something that should be done every time your gas bottle is swapped over, or hose replaced is the soapy water test. This test checks the gas connections and hose to ensure there are no potentially dangerous gas leaks. Follow the below steps to make sure nothing is missed.
1. Put some soapy water in a spray bottle or a dish.
2. Turn on the without turning on the BBQ. This pressurises the system.
3. Next, spray the entire valve, regulator and hose assembly with the soapy water.
- You need to test the entire assembly from the bayonet connection or gas bottle valve all the way along the hose up to and including where the gas hose attaches to the barbecue.
- Alternatively, you can apply the soapy water with a paint brush, basting brush or it can even be sponged on.
4. Bubbles will form if there is a gas leak and you may also smell the gas.
5. When done, rinse with clean water to remove the soap solution.
If bubbles form at the connections, immediately turn your gas bottle. Try tightening and reconnect all fittings and test again,
If you still find a leak do not use your barbecue, leave it disconnected until the issue has been rectified; i.e. replacement gas bottle, replacement hose and regulator.
Tip 5: Checking your Ignitor
The last step in spring cleaning your Weber Q, is checking the ignitor functions properly. Now that we’ve cleaned and checked the rest of the barbecue, we can do this safely. The first step is to try lighting your barbecue as you normally would. If it lights and burns correctly, congratulations! You’re set for the warmer months.
Note: You can now place your cooking grills back into your Weber Q, preheat your barbecue for 10 minutes, then use your Weber grill brush to scrape them clean ready for your next barbecuing experience!
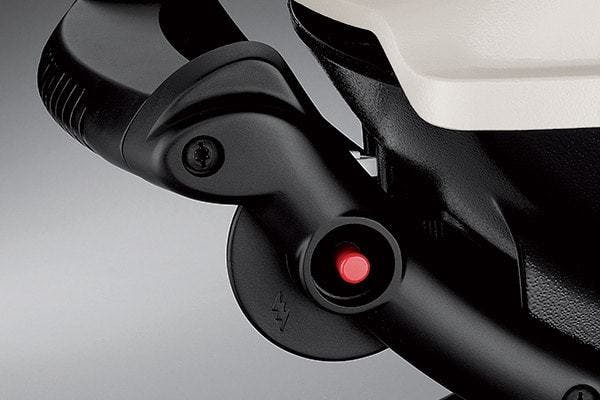
Piezo Ignitor
If your barbecue has a push button Piezo ignitor, these are the steps you need to take.
Does your barbecue light manually? This will rule out a gas issue.
Try disconnecting and reconnecting the wires.
Reconnect your gas bottle, then light your Weber Q as you normally would. Your Q should ignite and now you’re all set for some incredible meals! If this isn’t the case, please speak to our Weber customer service and they’ll go out of their way to get you up and running.
To view our video on: Replacing the Piezo Ignition System on your Weber Q

Electronic Ignitor Trouble Shooting
If your barbecue has an Infinity ignitor, these are the steps you need to take. Twist the ignitor anti-clockwise until it comes free. Then, remove and replace the old battery. Simply reinsert the ignitor, turning clockwise to lock it back in place. Reconnect your gas bottle, then light your Weber Q as you normally would. Your Q should ignite and now you’re all set for some incredible meals! If this isn’t the case, please speak to our customer service team and they’ll go out of their way to get you up and running.
To view our video on: Replacing the Electronic Ignition System on your Weber Q

Weber Barbecues
5 Lamb Recipes That Go Hard